Low Light Photography Tips and Guide
Photography is tricky business. You could learn all the right technical aspects needed to know exactly how to click a photo in the perfect angle and light, and still not get the perfect click. There are a few important tips and tricks you need to know in terms of getting that perfect click, both with your smartphone and your DSLR!
Since the festive season is approaching fast, we thought it would be a good idea to incorporate some low light photography tips and tricks to get that perfect shot. We’ll tell you everything, from how to do low light photography without flash, the right settings, and some insights from the experts.
Let’s begin!
For Your Smartphone:
1. Pay attention to the resolution
All smartphone users who see a good opportunity to click an attractive low-light photo, remember this: the higher the resolution, the more clarity and details you’ll get in your photographs. However, switching your aspect ratio could mean you’re cropping your images and lowering the effective resolution, so make sure you avoid that common error.
Many phones shoot with 16:9 aspect ratio by default to match the phone’s display, despite their sensors being 4:3. You can find your phone’s native aspect ratio by looking at which setting shows the most environment in the preview. It will also have the highest final resolution, to make your photo look appealing.
Read: How to Do Pro-Quality Travel Photography with Your Smartphone Camera
2. Shutter must be open, mostly
The IOS value directly determines how noisy a prospective photo will look and apertures are fixed on smartphones, so it would be ideal for you to leave the shutter open longer, in order to get sharper and better-focused images.
The longer your shutter speed, the more your chances are for the photo to appear blurred, so make sure you use this tip for your stable and still subjects. A long enough shutter speed could result in night time photos as noise-free as those taken during the day.
3. Find the right exposure
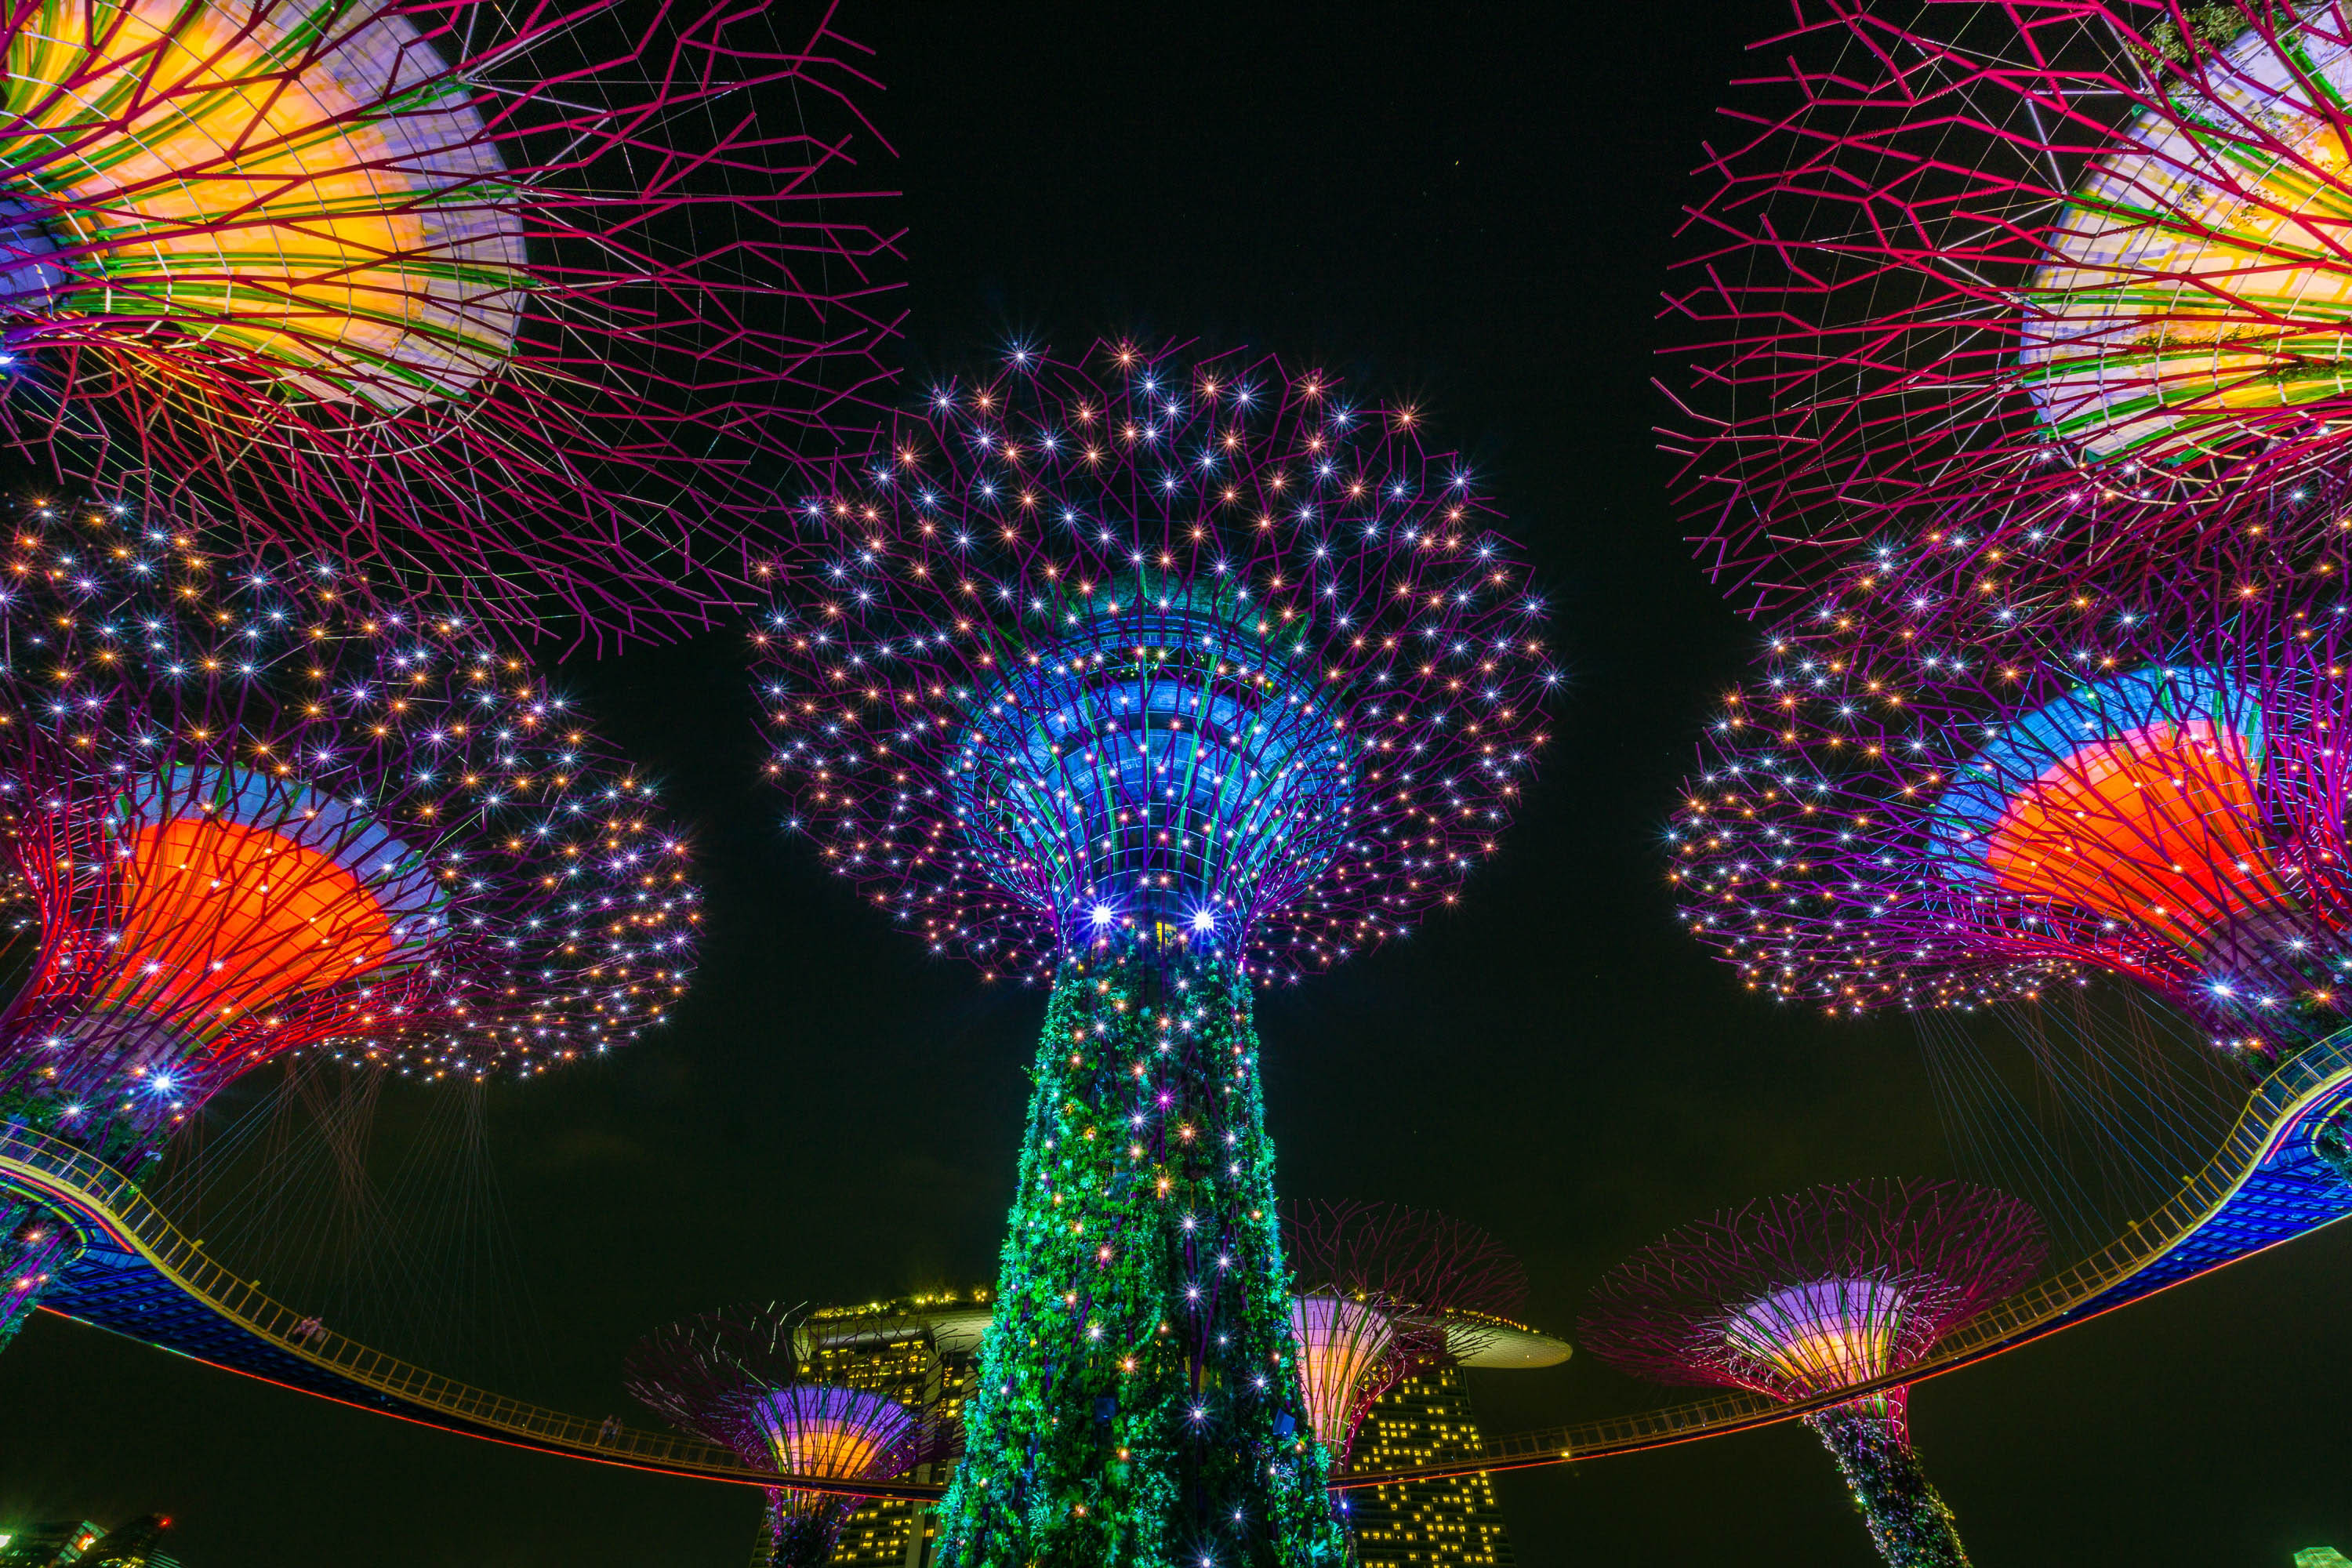
Find your muse, and set your phone in a steady position. Exposure is not just an important setting for your DSLR, but for your phone too. Tap on the screen once you focus on your subject and the camera will set it into the right exposure that you need for the click. Keep this in mind when you click cityscapes.
There are exposure compensation tools on your phone that you can use while clicking a photo, just in case you are aiming for the perfect shot. Low light photos are not easy to edit in Photoshop, so make sure your photo is properly lit before you click it.
4. Set it in manual mode
As mentioned before, your phone can double up as your DSLR, which means there are settings in there that you can toy with for the perfect shot.
Learn to adjust your settings manually, so your shot is customized perfectly to suit you. You can adjust settings such as the shutter speed and ISO. A lot of Android and iOS phones have manual settings meant for the finicky photographer.
5. Stabilize your shot
Find a stable surface, once you find your subject for the photograph.
Stabilise your shot wherever possible, even if your phone has the optical image stabilization settings, as it allows you to use a much longer shutter speed and lower ISO settings without your hand creating problems with regard to the sharpness or clarity of the photo.
Read: Mobile Phone Photography Tips to Help You Shoot Like A Pro

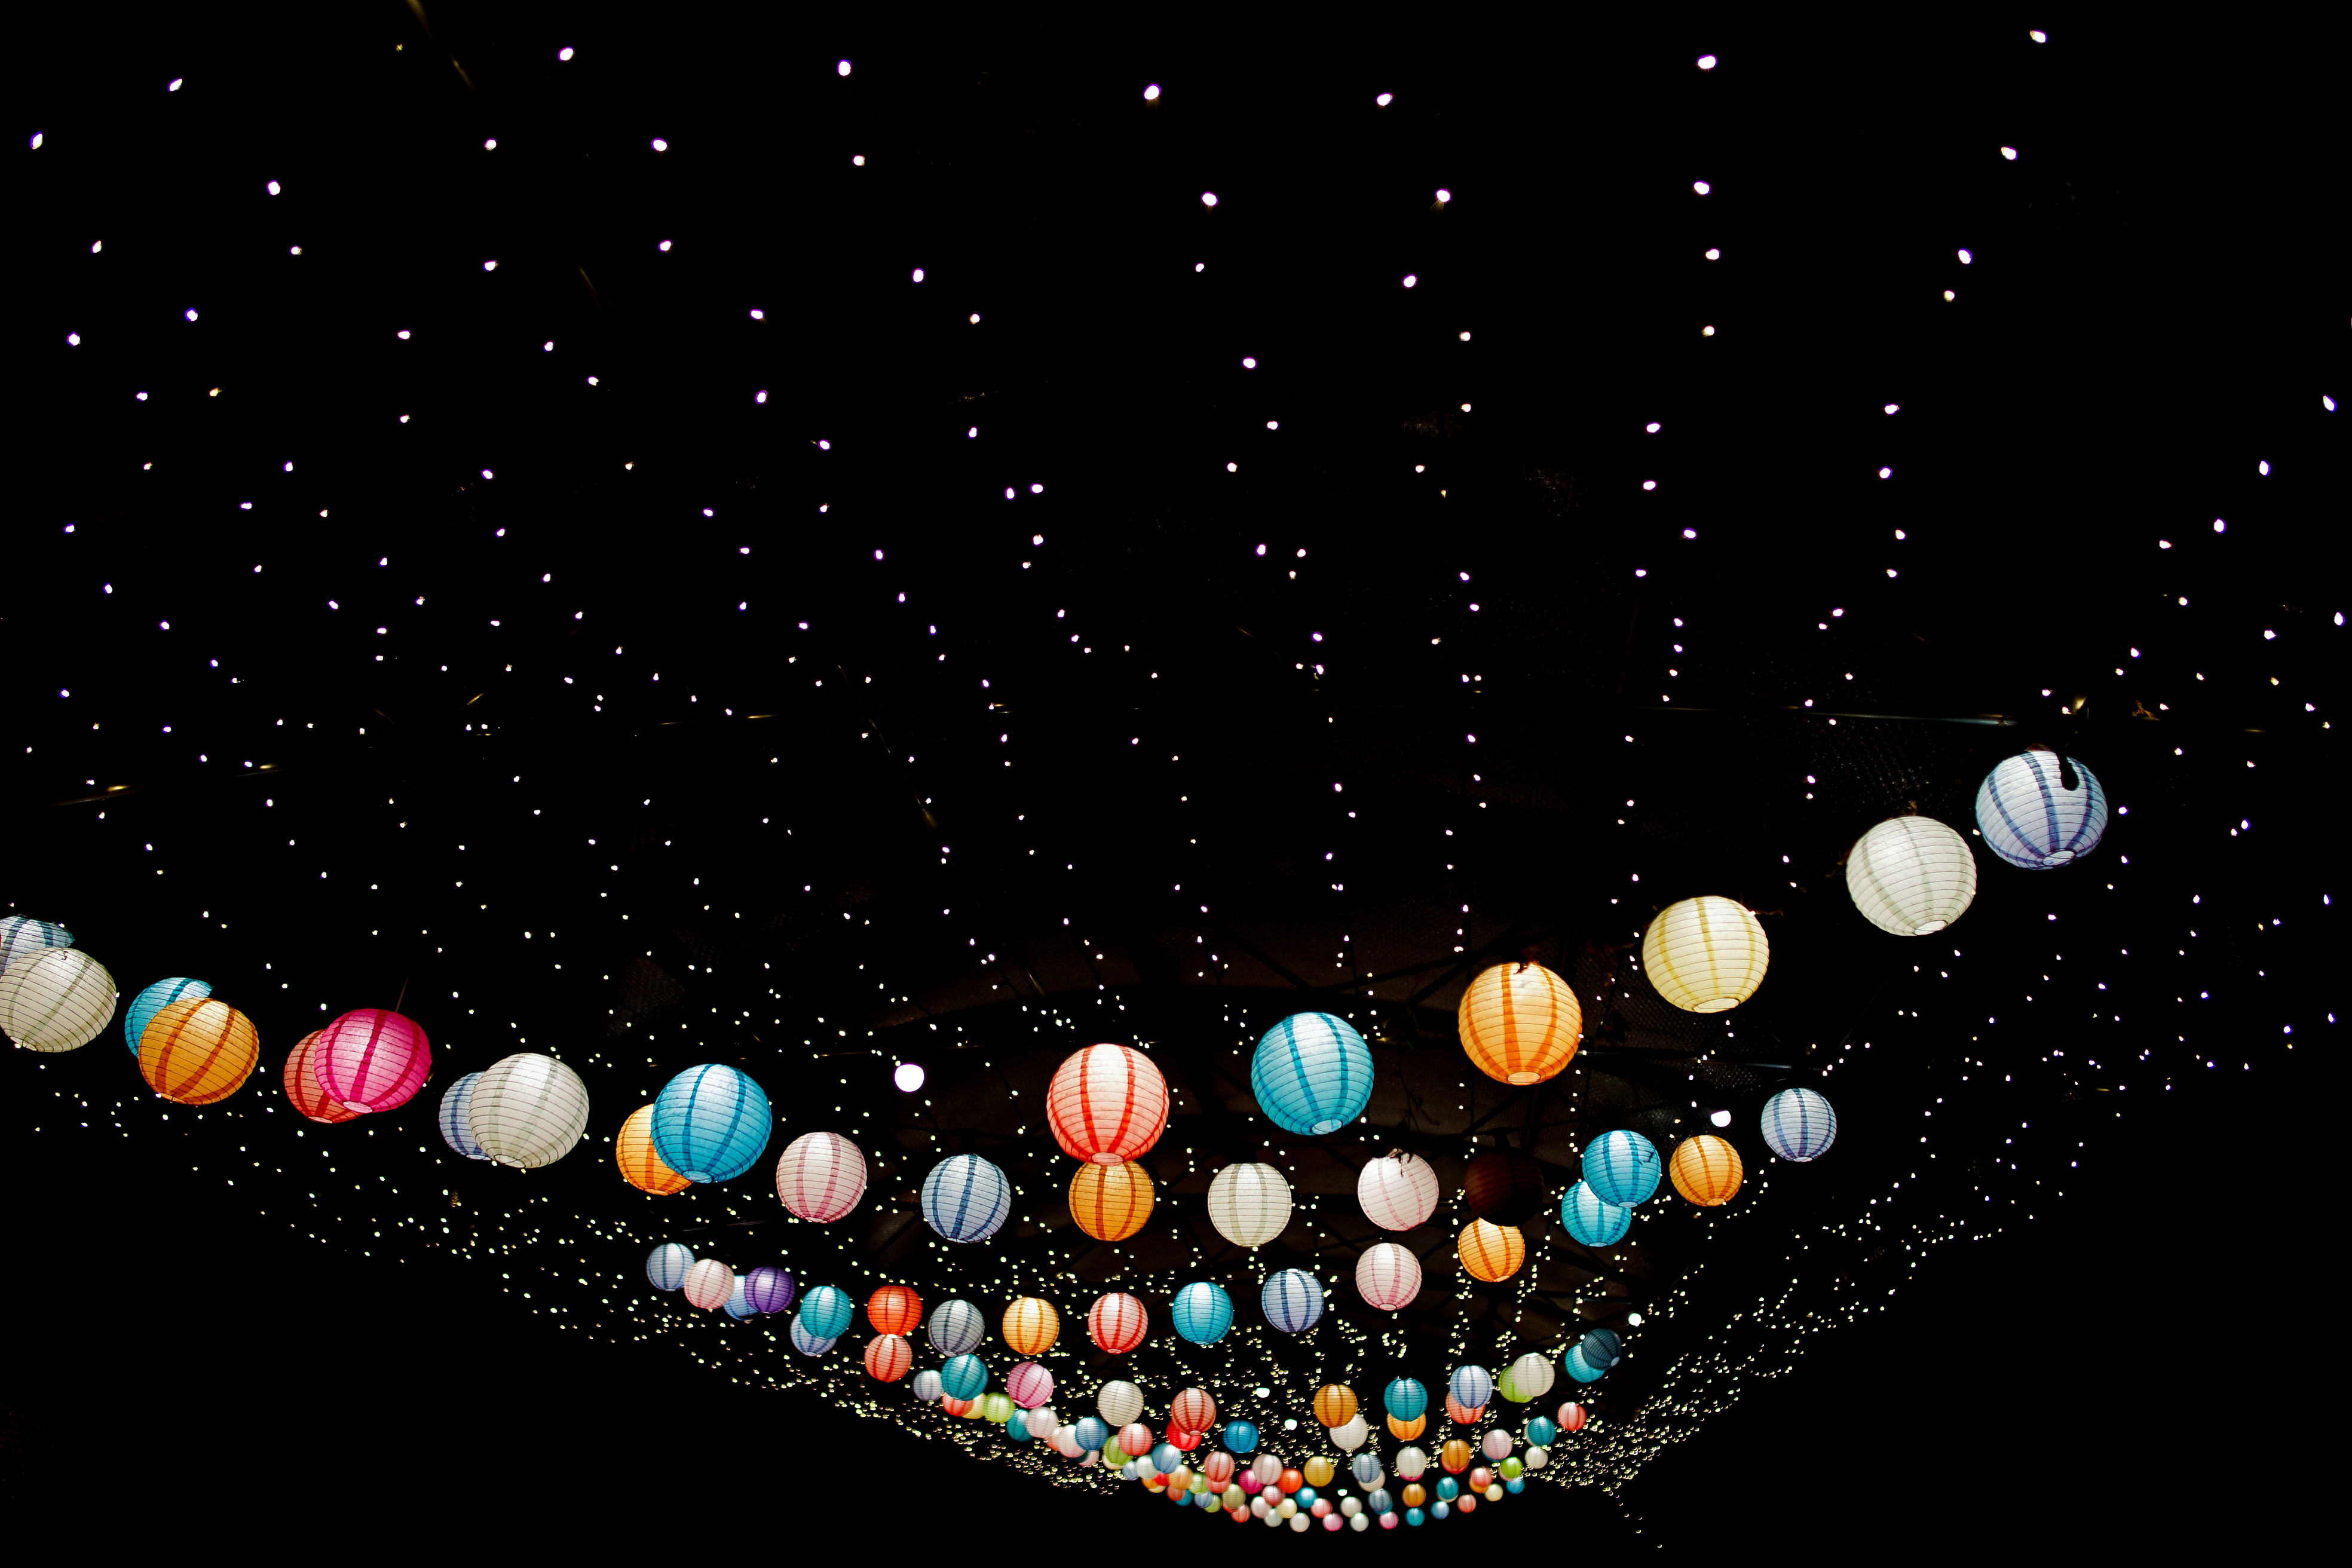
6. Set your White Balance manually
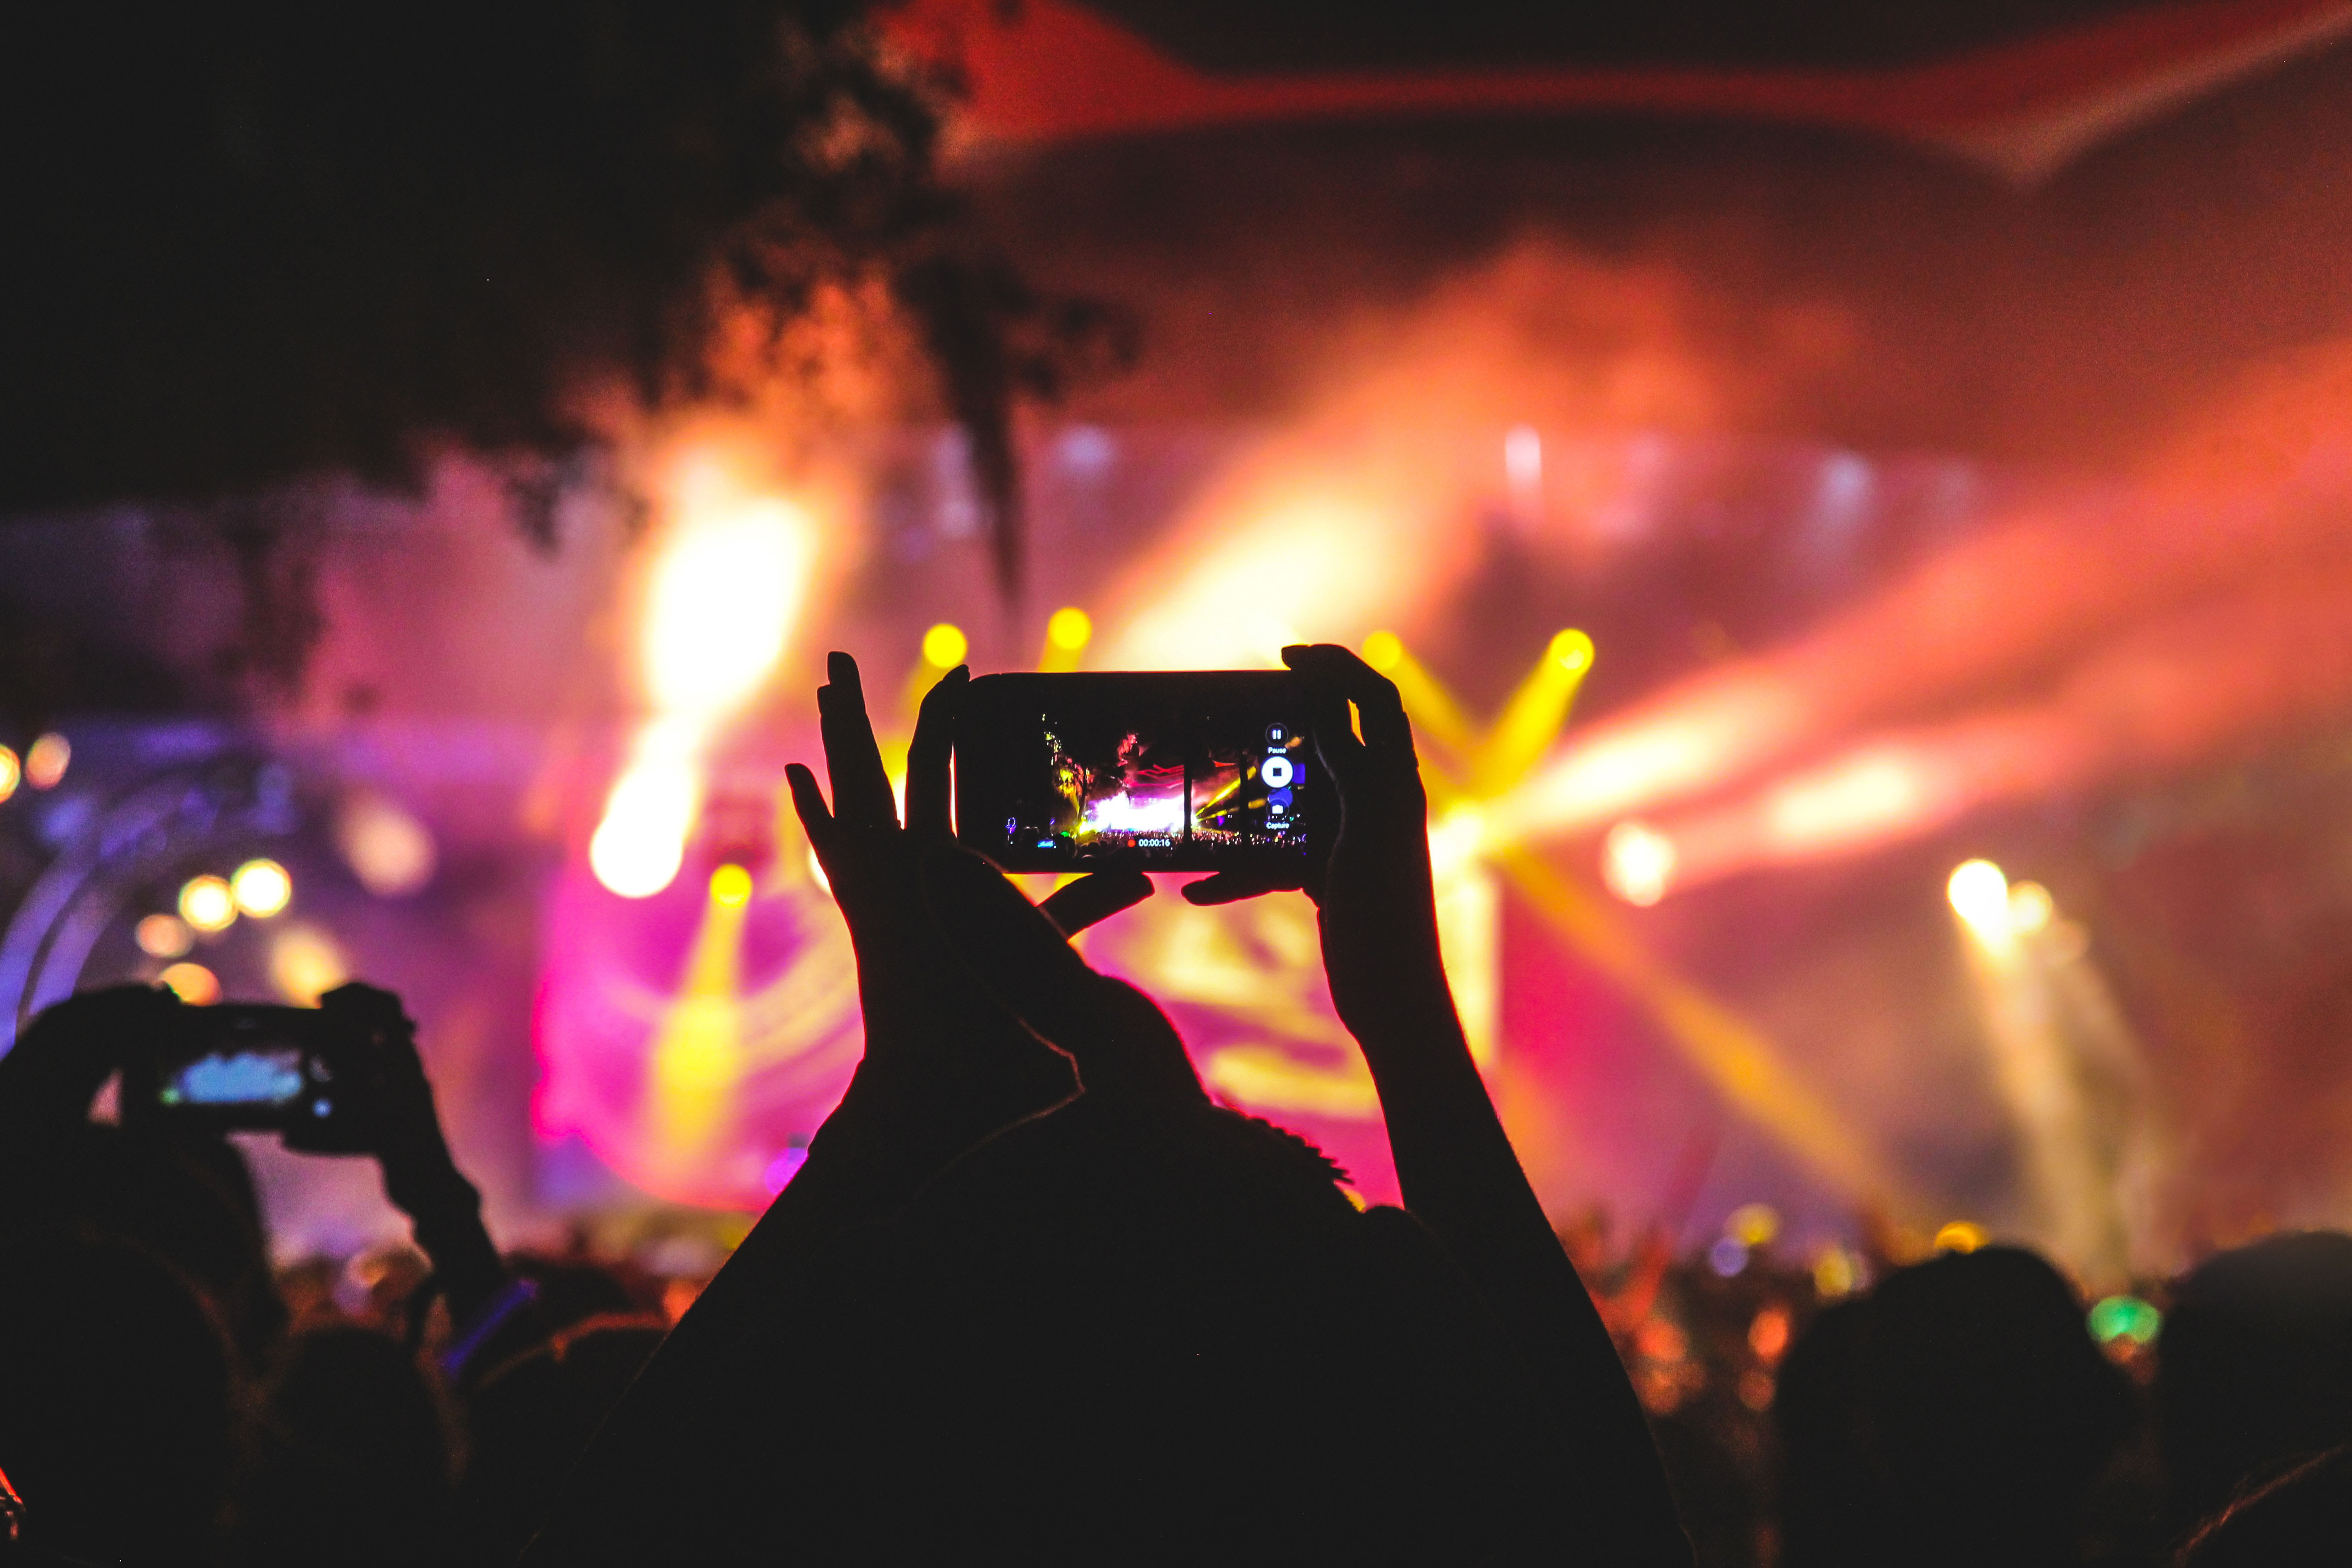
Natural colours are important in a low light photo. Eerie background colours may pop up if the settings are not correct, therefore, on your phone, look up the white balance. A good white balance marks the difference between a nice low light photo of a concert, to making it look like you were in a haunted house.
The lower the light, the more difficult it is for your camera to guess the white balance, so make sure you set it manually.
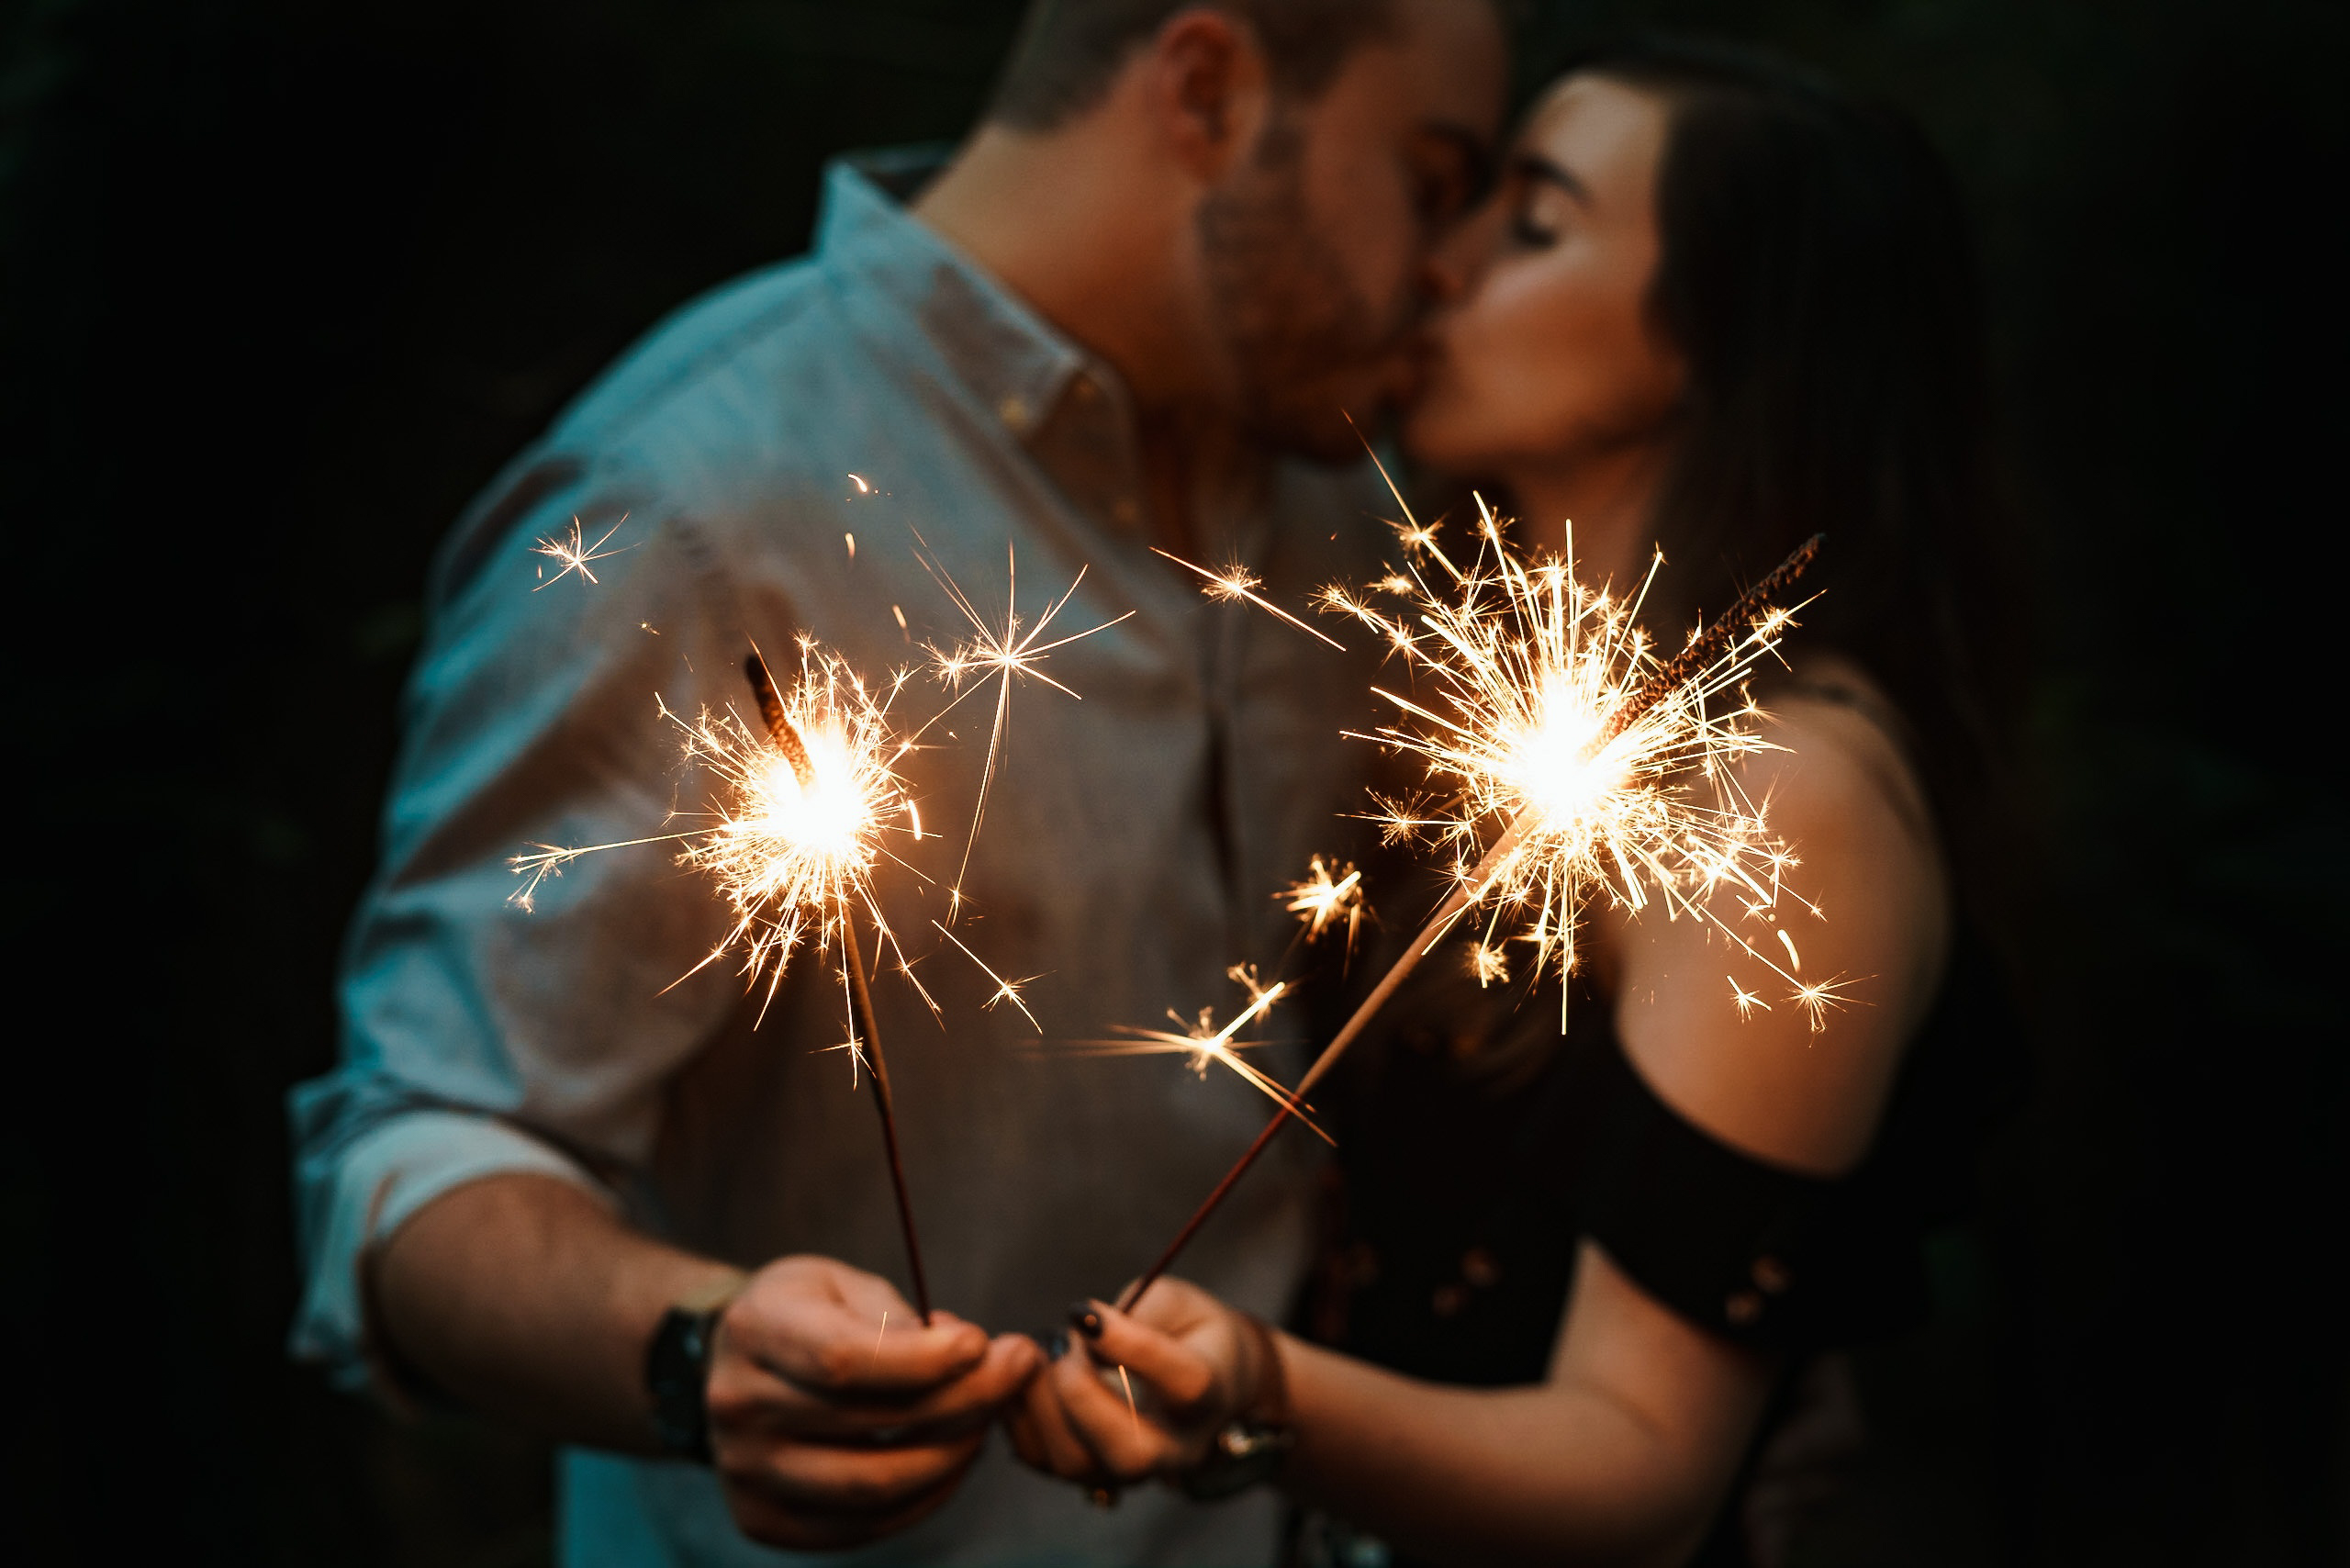
7. Do low light photography without flash
It does look good to have the subject in the foreground have more light thrown on them, but this could also mean your subject appears garish and leaves a tacky look on the photo. In a low light photo, it is best if you leave the natural lights on and let the ISO do the work.
In concert photos, skin might appear harsh and the surrounding colours may exude a different light. Stick to an environmental light as much as possible.
For Your DSLR
1. Lens can work wonders
A photographer who knows his/her lenses well enough can skip this point, but nevertheless, read on.
Your lens will determine first, how well your final photo will look and also, how close you want your subject to appear in your photo. In many cases for low light photos, you need a fast, prime lens with amazing aperture settings.
Wide aperture on your lens will allow light to enter into the camera. Aperture values of f/1.2, f/1.4, f/1.8, f/2.0, or f/2.8 are considered wide. Wide aperture lenses must be harder to make because they tend to be higher quality lenses that are more expensive.
To be on the safe side, use a prime lens, with low ISO and slow shutter speed.
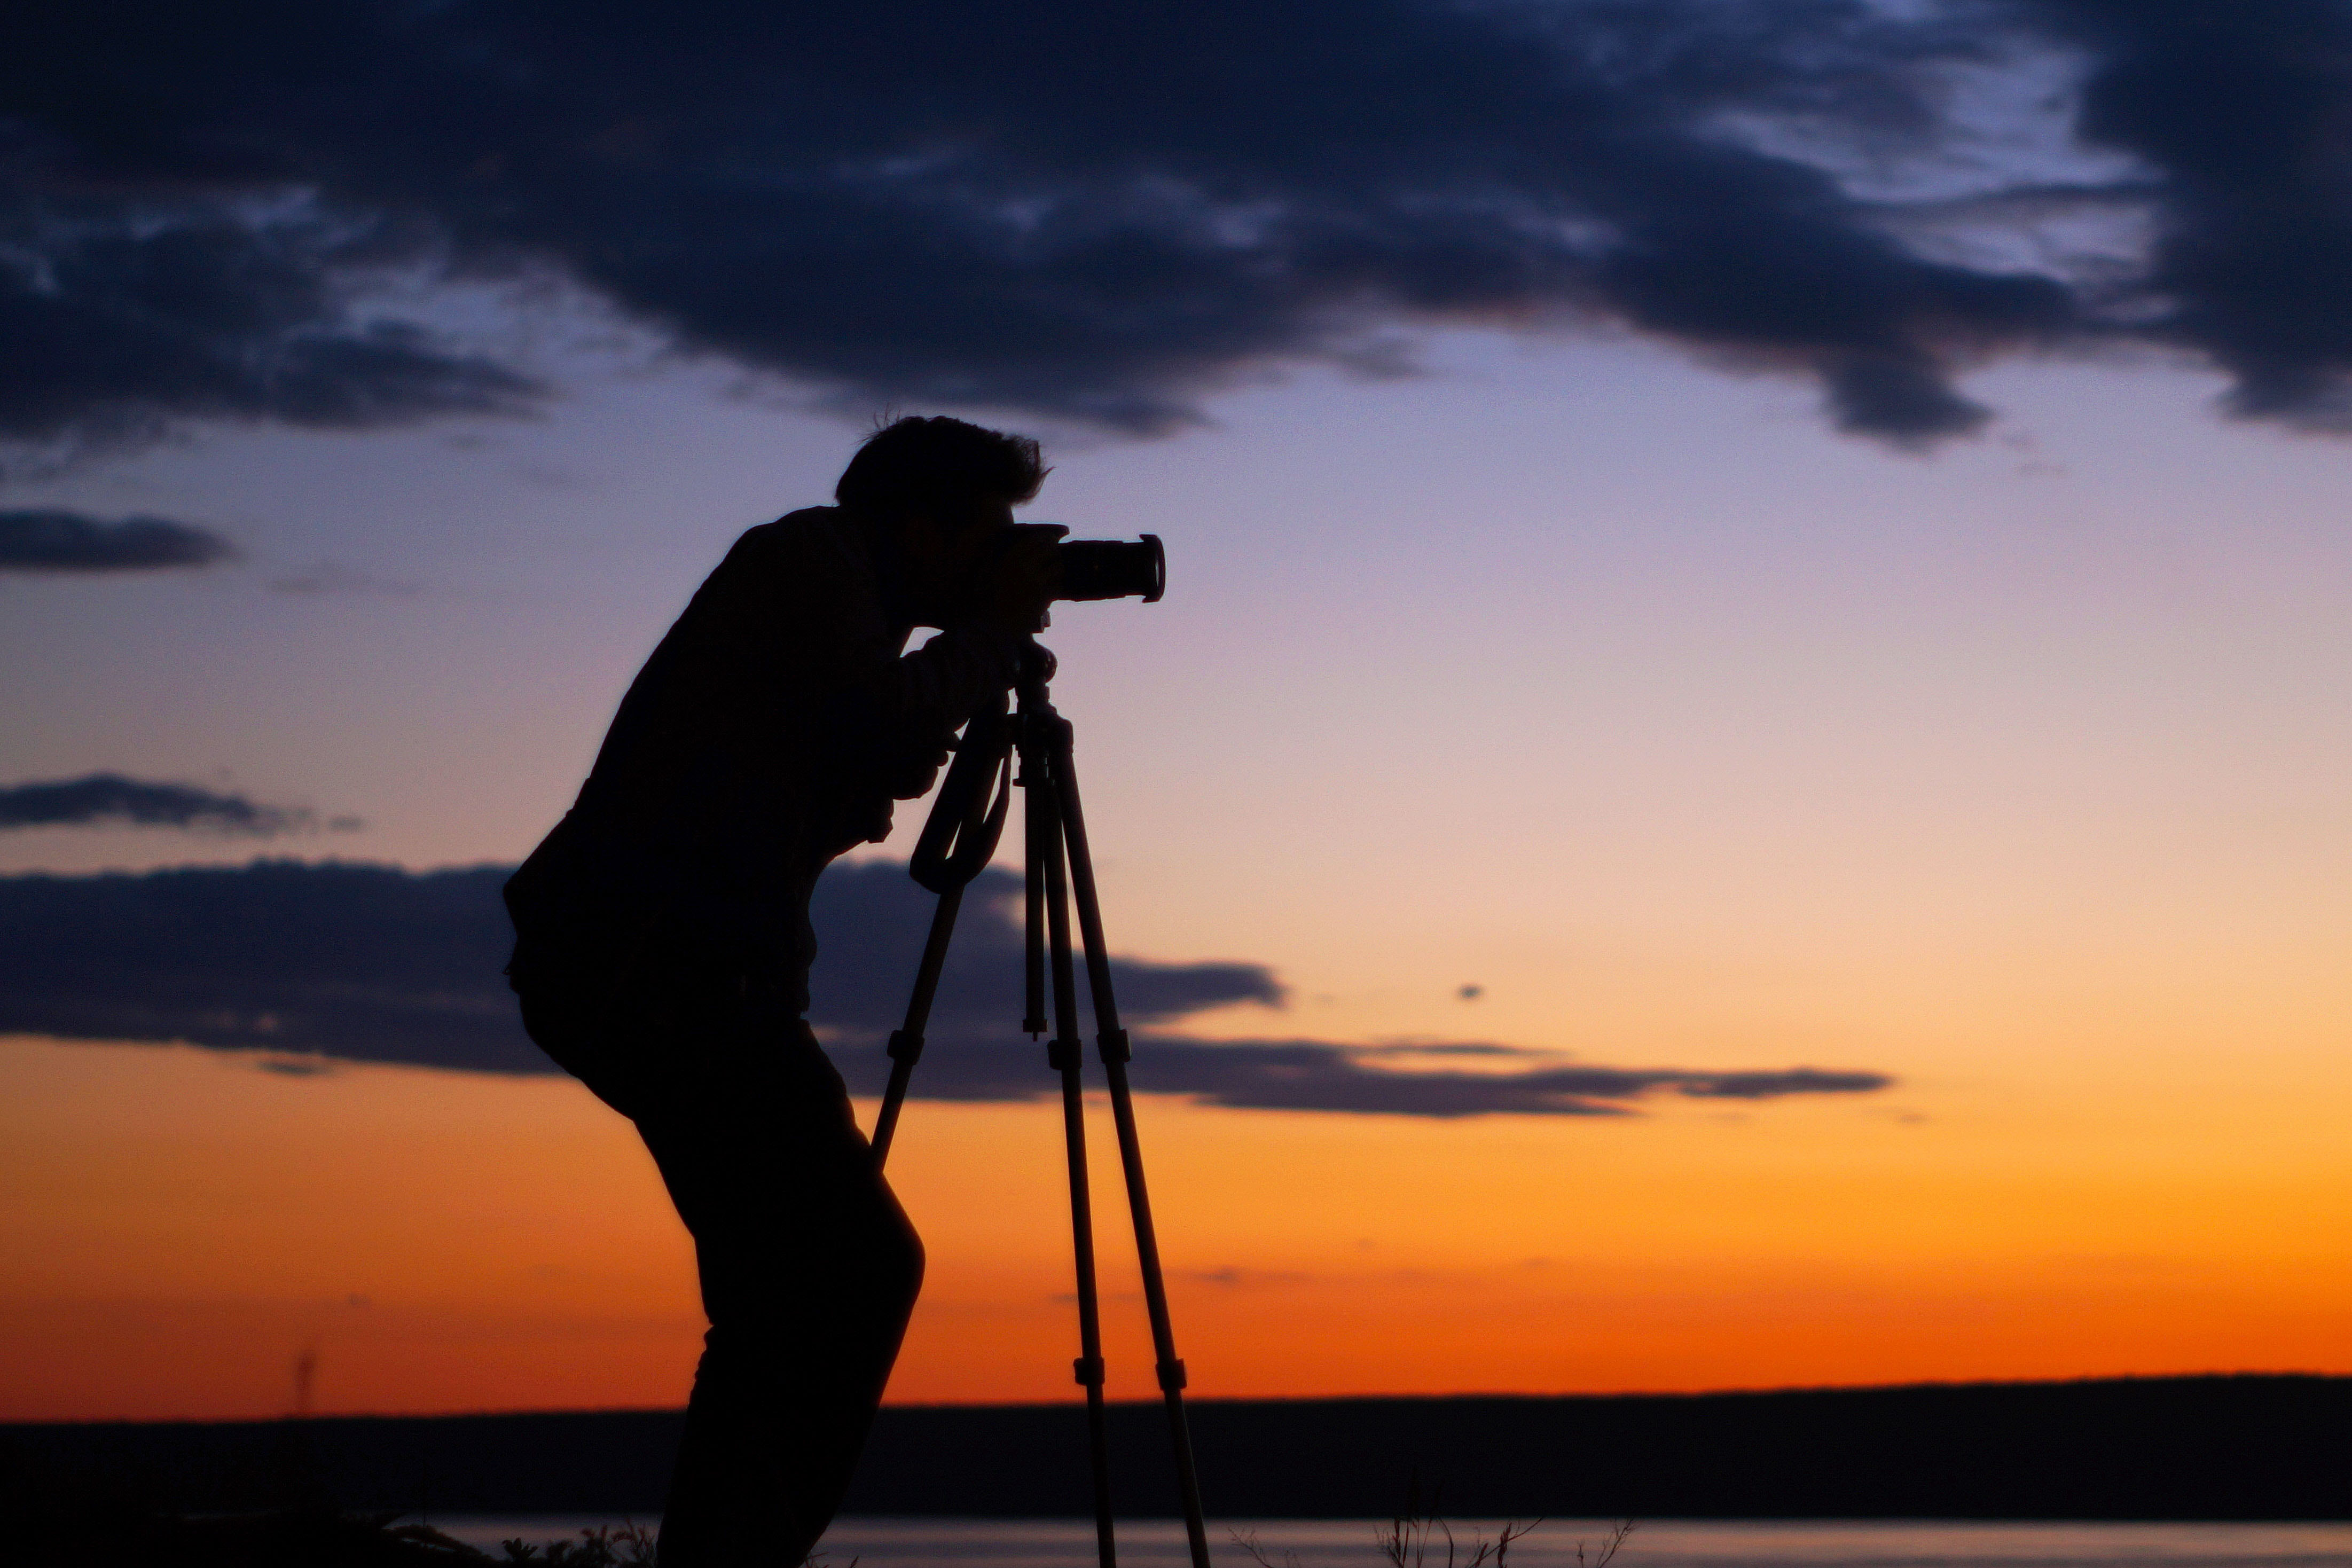
2. Use a Tripod!
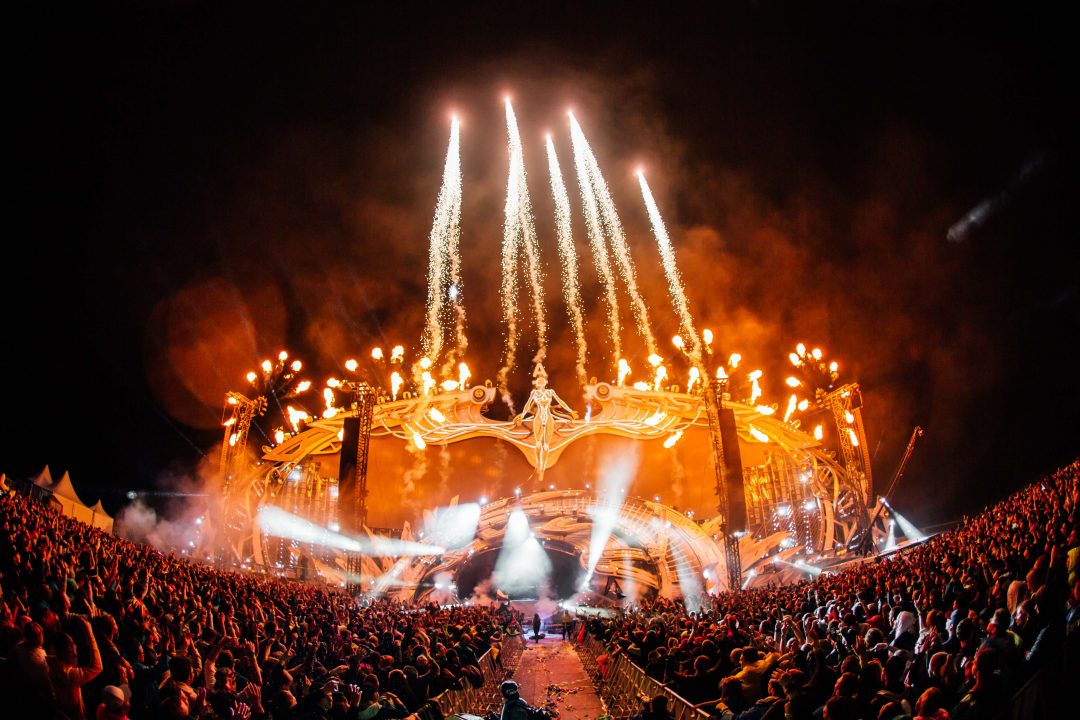
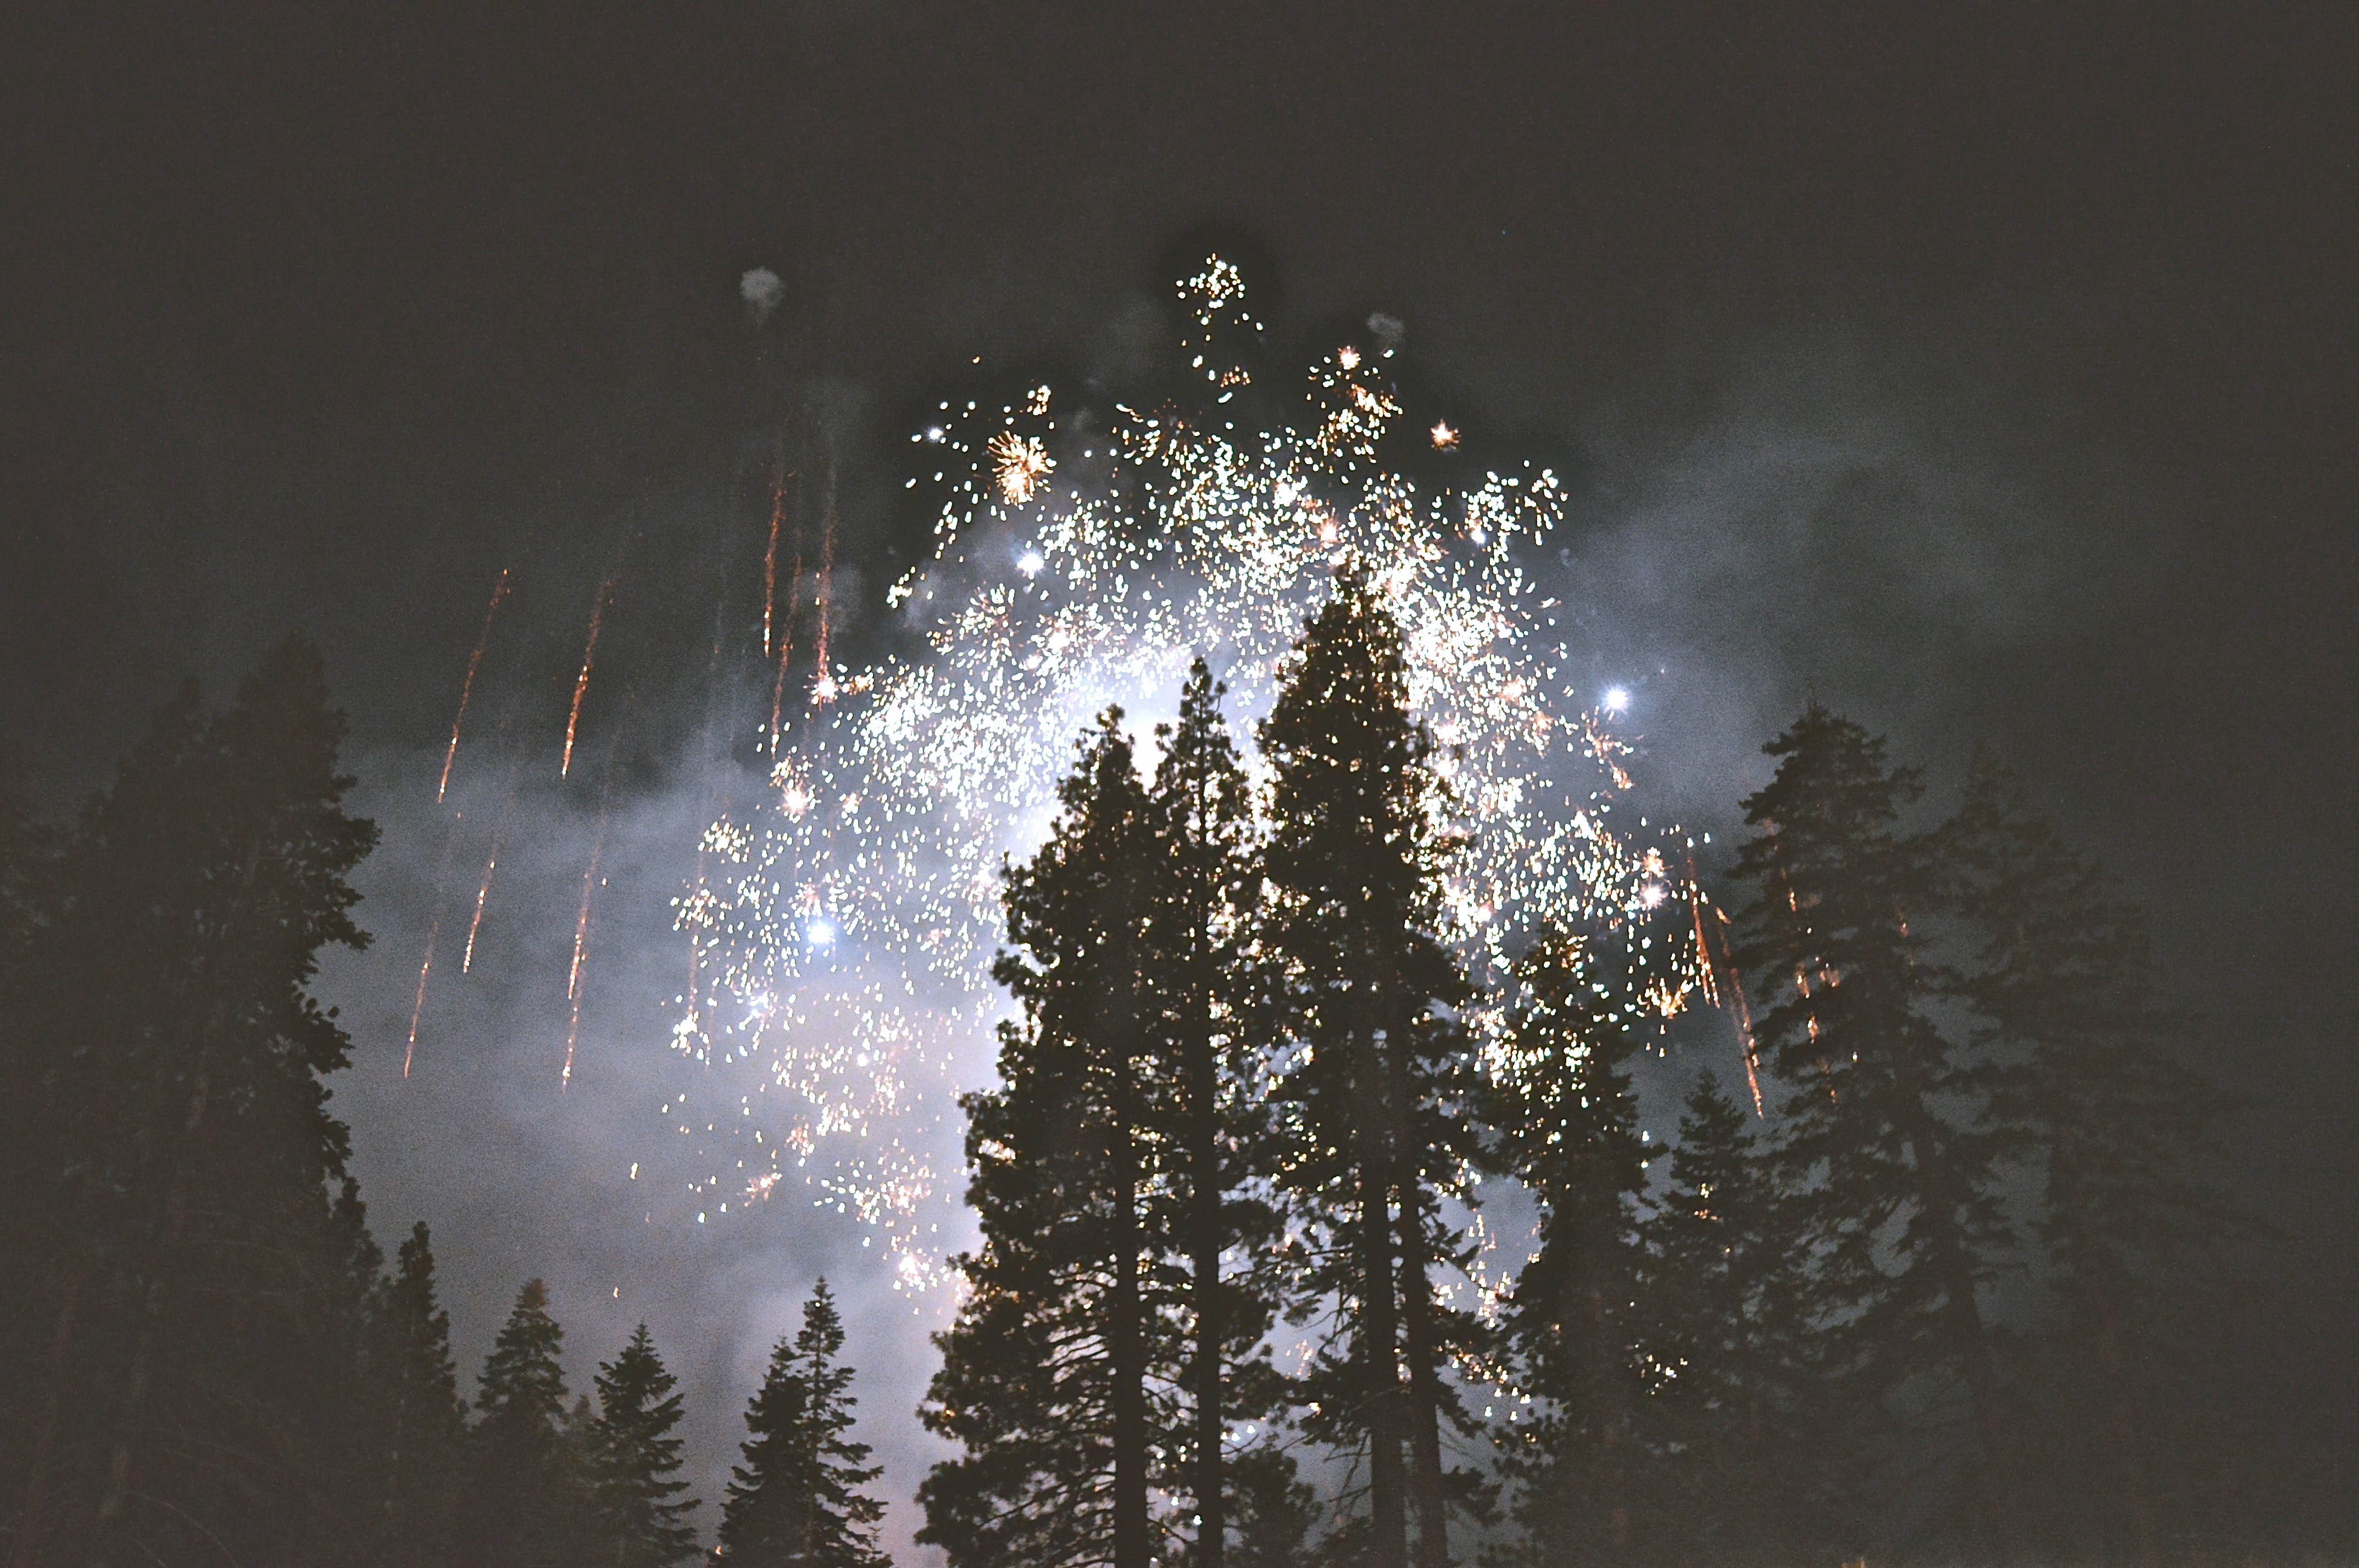
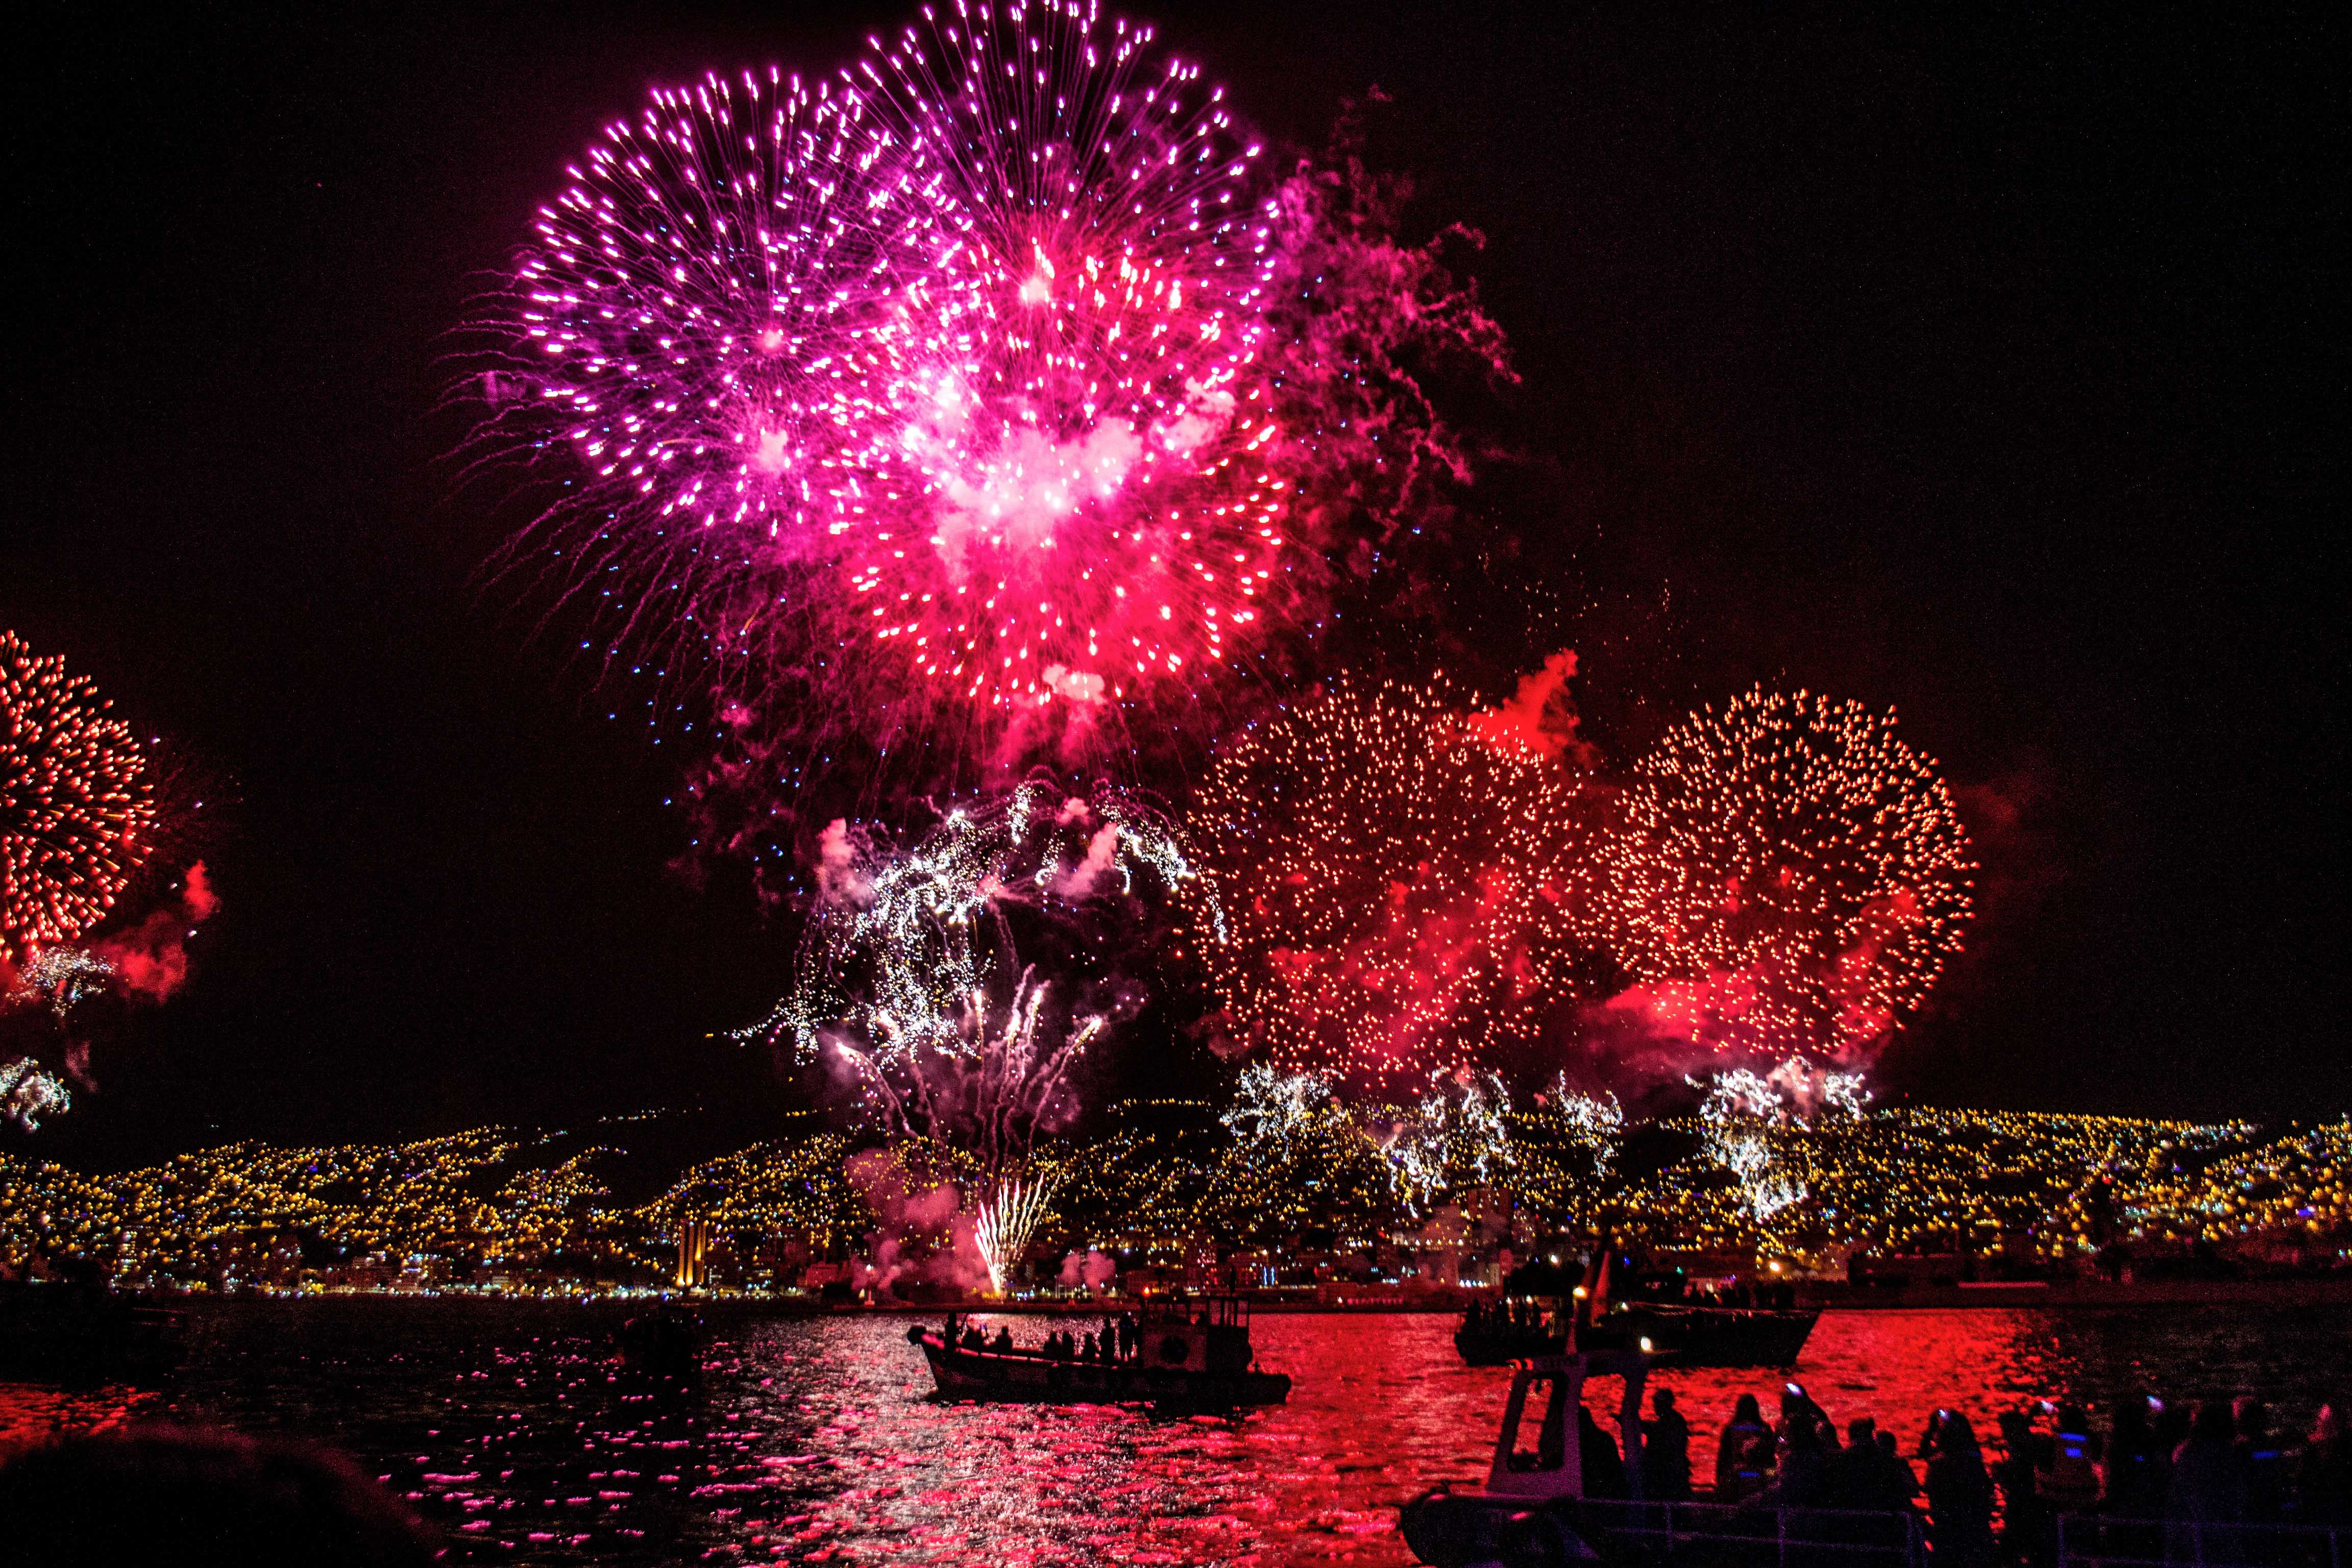
Having blurred photos can be a pain, since a lot of low light photos are caught in burst mode with lots of light seeping through in weird places, so blurriness can be a big obstacle. Make sure you grab a tripod for those stable shots, for the beach moonlight, the fireworks display or the cityscape.
Low light photos are perfect when clear, and unless you want to experiment with motion, it is best to work it on a tripod.
3. Slow your shutter speed
For any DSLR user, it is important to know what your camera can do and not do for you, even before you take it out for a click session.
When your aperture is wide open and you have pushed your ISO to its limit for your perfect shot, the last option is to slow your shutter speed. It is possible to capture pin-sharp images at 1/60sec or less.
Ensure when you are fiddling with your settings, you cater to these fine details, for a shot you do not need to wait for the second time.
4. Your ISO matters
ISO is the game changer for low light photos. High ISO allows you to use a faster shutter in low light.
A lot of new cameras in the market come with a well-equipped setting for ISO. A Canon 5D Mark III can photograph in a setting of ISO 3200 or 6400 during events in low light or in dark reception halls.
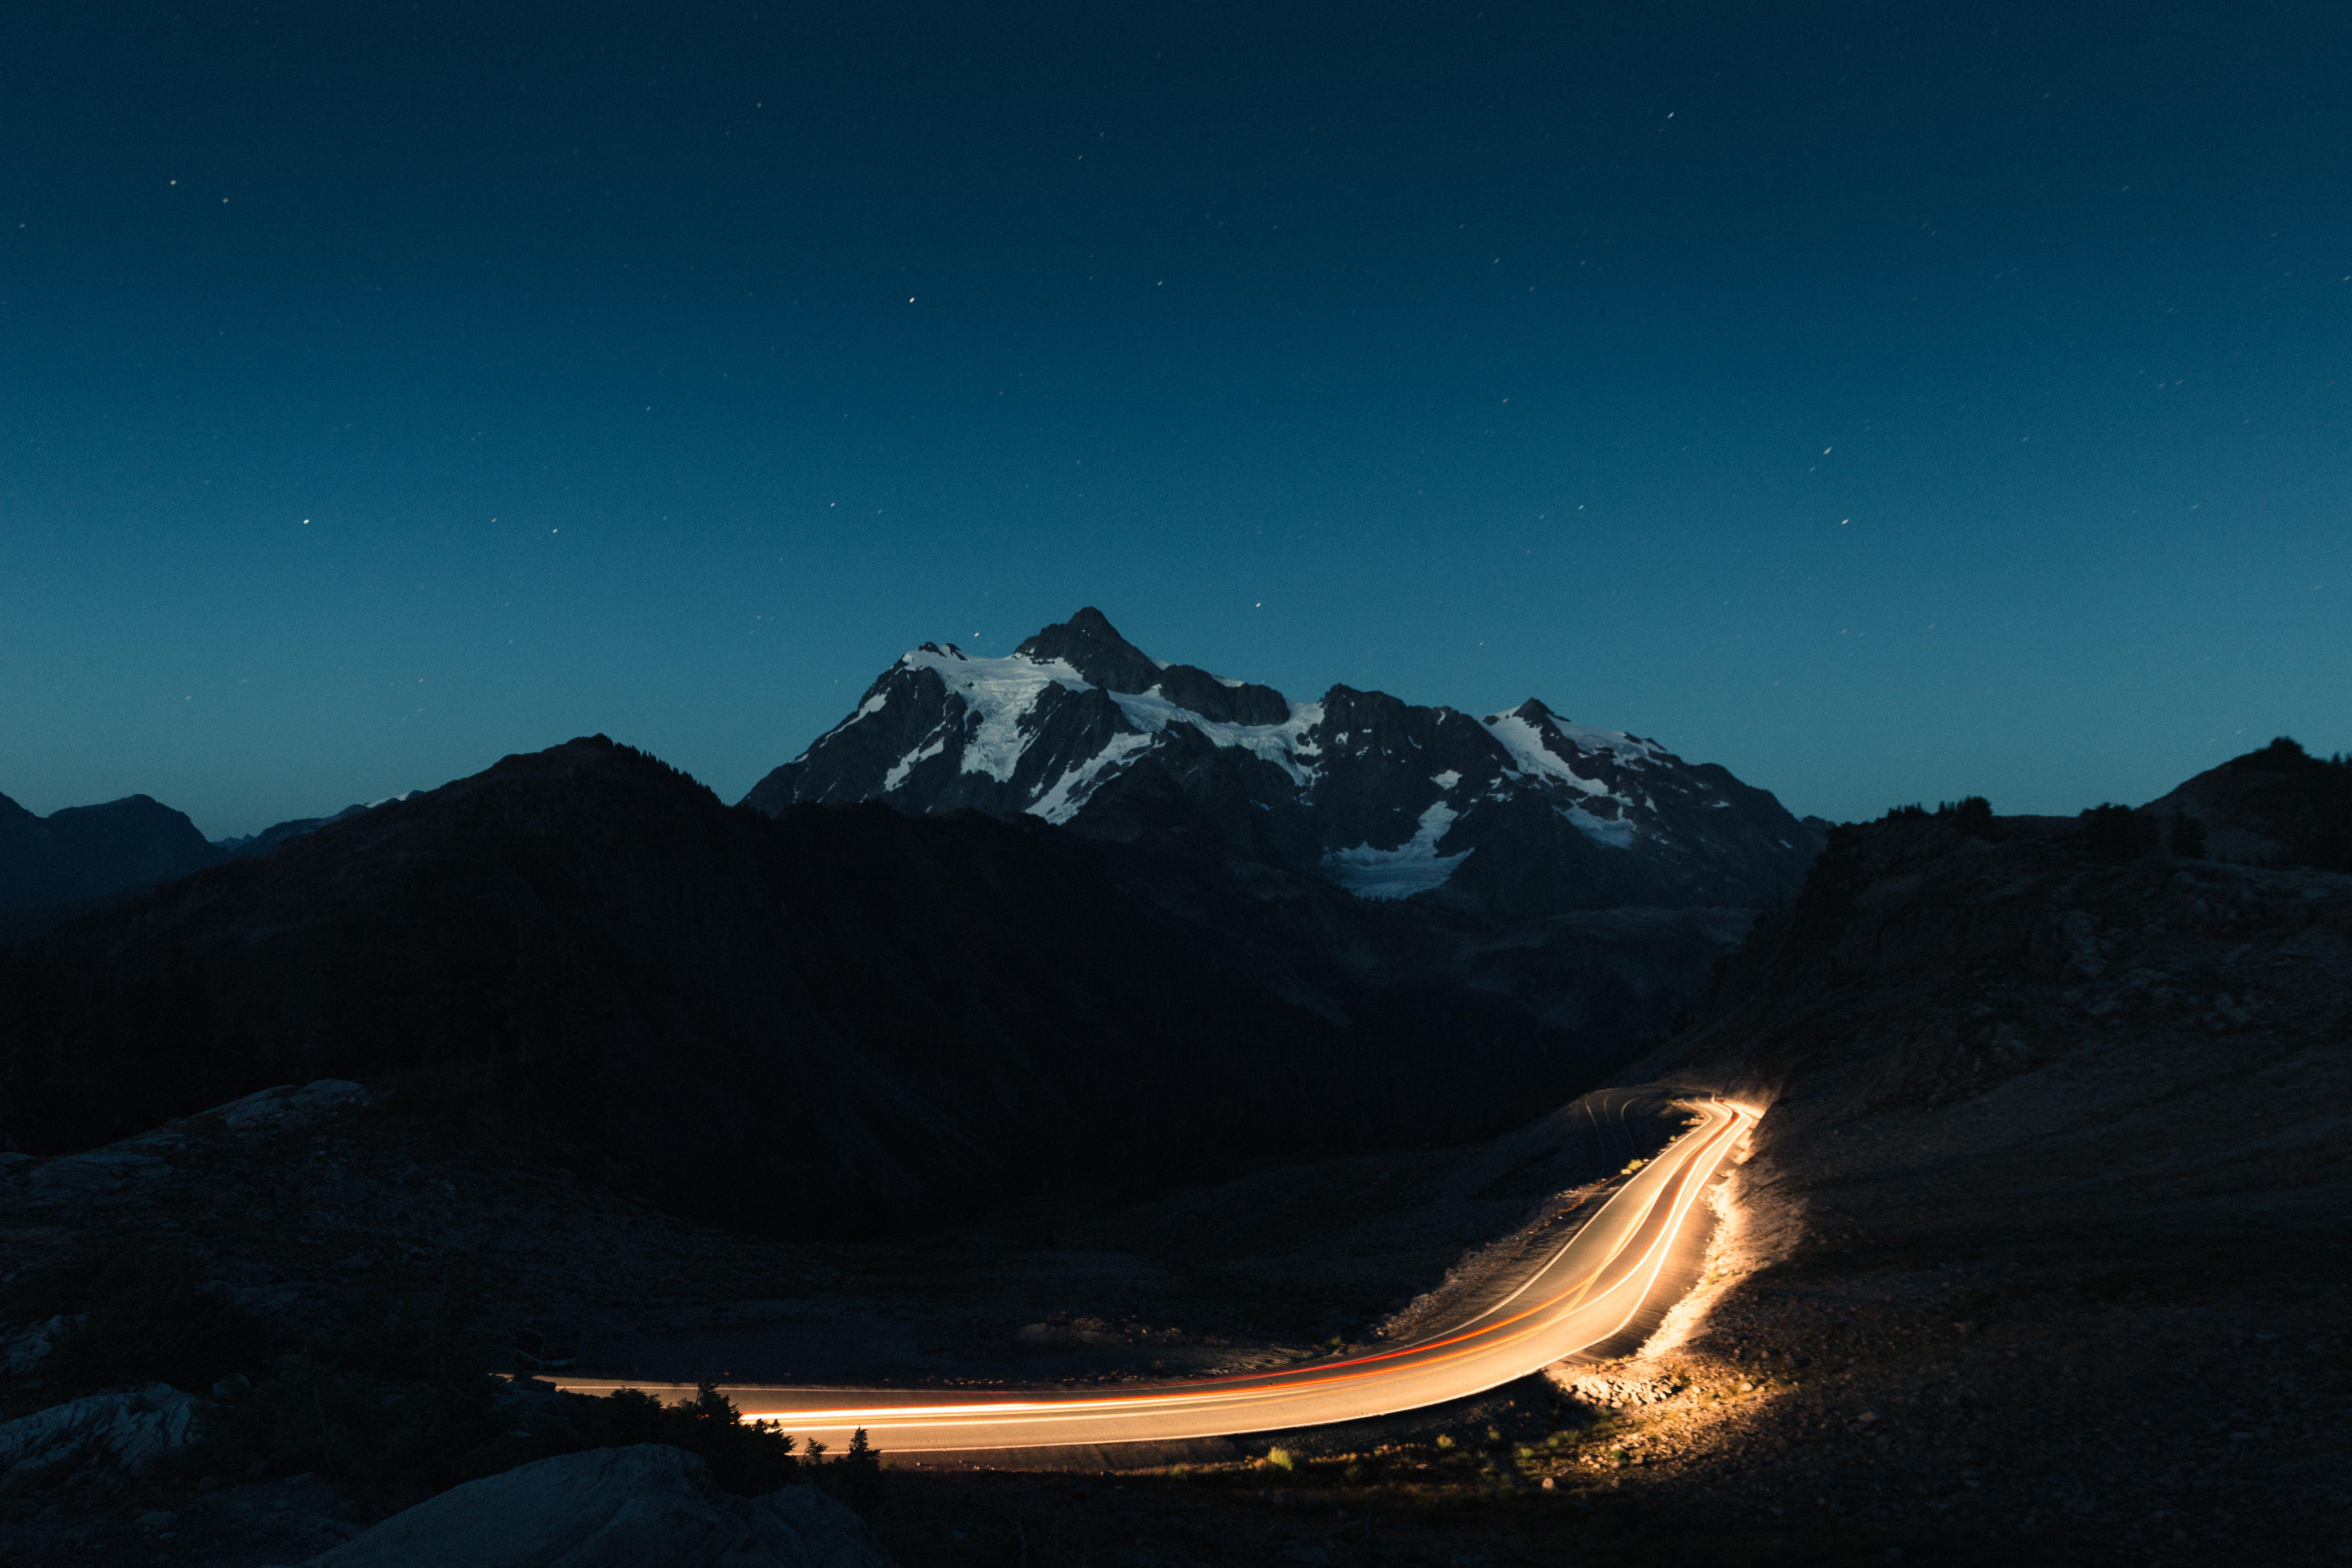
5. Long Exposure works
For a photo that may or may not look good without the blur, try long exposure. Long exposures can be used with still subjects to use a lower ISO without blur. However, as a tip from the pros, it is okay to spill a little blur on your photos, as it makes it look more effective and in motion as compared to very crisp motion photos.
Set your camera up on a tripod and use a long shutter speed, starting at 30s. and go up or down from there. Take a look at your first shot. For more blur, lower the shutter speed, and for less, increase it and do not stop till you get the ideal shot. Keep fiddling with the settings.
You can check these long exposure tips and ideas for some inspiration.
6. Shoot in Bursts
This may seem like a toll for those who hate multiple photos on their SD card, but if you have the space, go for it. It is not possible to shoot fast moving concerts, city life or any event in just a few clicks. Take photographs in burst mode.
Photographing in burst mode ensures that at least one photo out of the two or three you took is going to be better than the others. Makes your selection job easier.

7. Assess the darkness and light levels of your surroundings
One of the primary rules of photography is to be prepared for anything, anytime. You will decide not to use a flash, but you can never be too sure about the levels of light in the arena or area where you need to click. What if your camera ISO image qualities are poor but you have no choice but to shoot in high ISO, and your lens widest aperture is f/3.5, or f/4.0?
Therefore, assess the darkness and light levels of your venue. Ensure you have the right settings playing out in your mind before the event begins, before all the light flickers out from the city and adjust your settings accordingly.
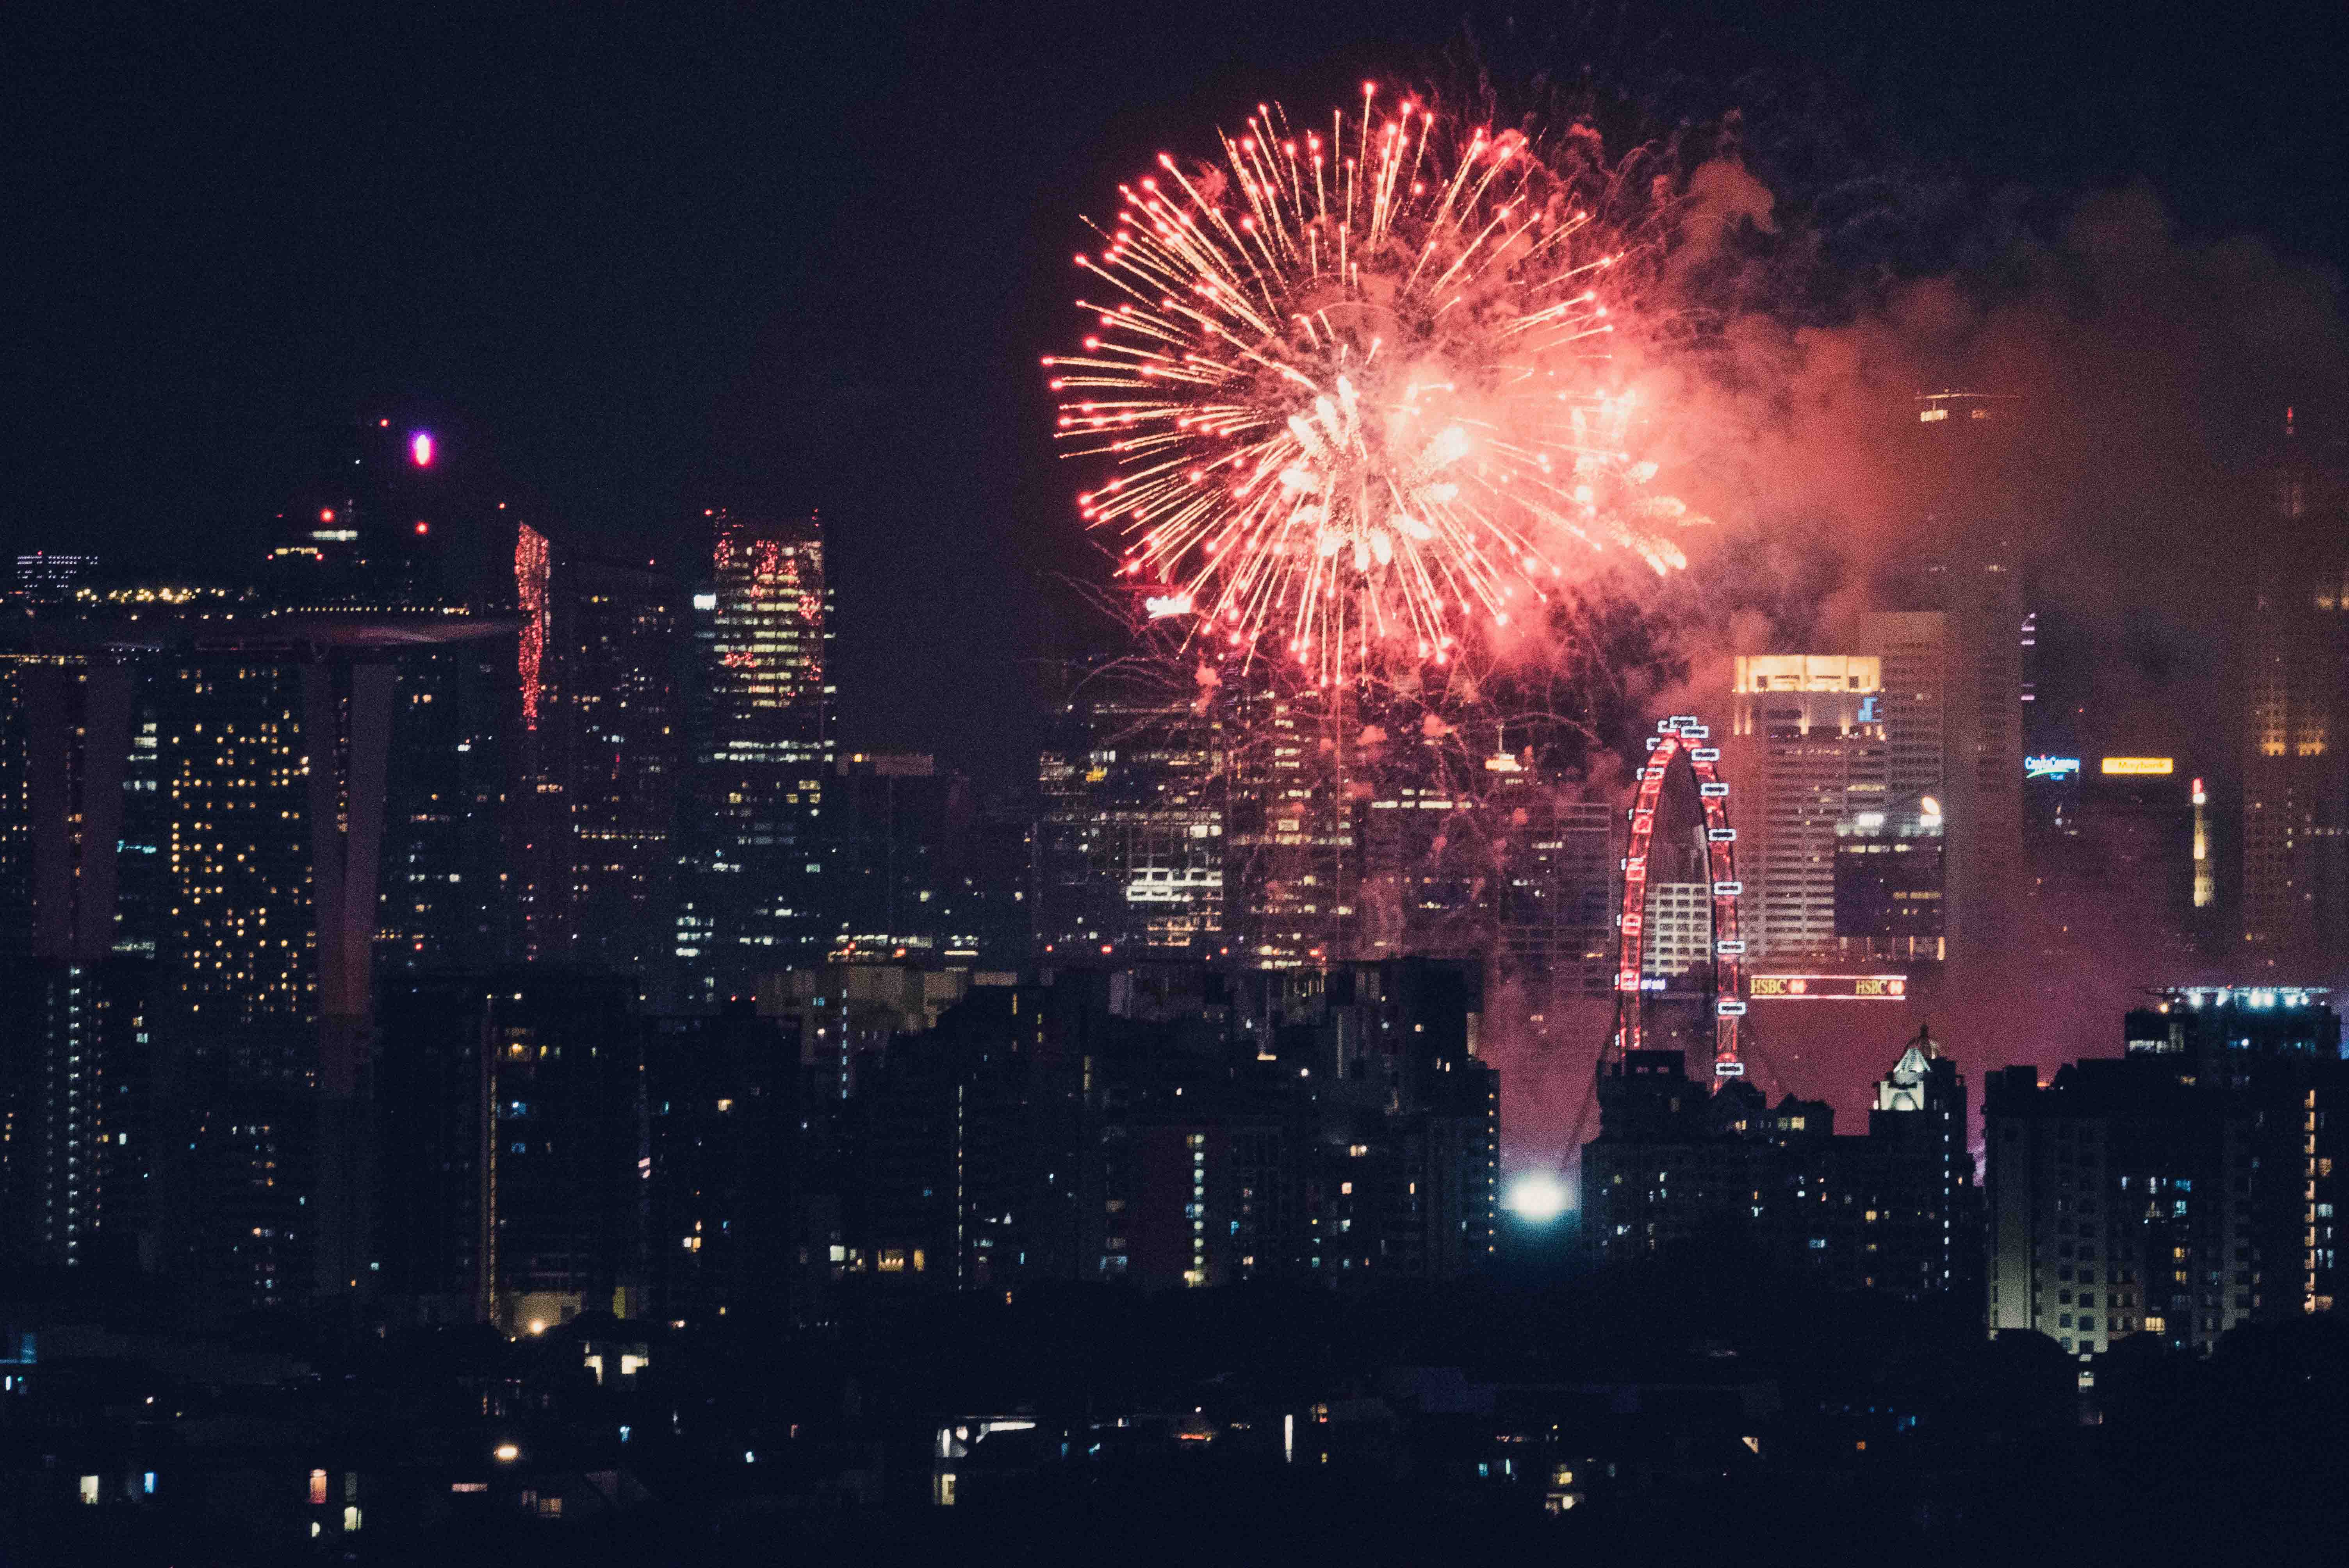
8. Focus on one central object
For beginners who are new to the world of low light photography, focus on one central object for all your photos.
For fireworks, focus on zooming in on the streaks of light and getting your ISO low like 100 or 200, to reduce the noise in the photo. For cityscapes, in order to create a balanced image, it is sometimes necessary to take multiple exposures of the same scene.
Otherwise, with a single exposure, you may end up with heavily under/overexposed areas. Taking multiple exposures is known as bracketing.
9. Use Manual Mode for the best shot
Safety does not always come first in photography. Learn manual modes if you haven’t already, and use a shutter priority mode, because this is the best setting for all low light photos. This way, you can also choose the right shutter speed for your shot.
Make sure your shutter speed is above 1/200 if you want to capture an action. With a still object, you can use a low shutter speed with a tripod.
Whether you use a DSLR or phone camera, hope these tips can help you nail the low light photography!
If you’re looking for a high-quality print for your work, Photojaanic offers a Pro Plan service designed for professional photographers, where you can get premium, handcrafted products with your own branding. Check out the Photojaanic website for more info.
Do you want to learn more about using social media to improve your online marketing and grow your photography business? Download our FREE eBook: ‘The Ultimate Social Media Guide for Photographers in 2018’, and learn social media best practices and how you can use these to create effective strategies!


Be the first one to comment