If you’re a photographer or blogger who is just starting to learn food photography, you might find it tricky to get create beautiful food photos that you’ve visualized in your mind.
Hey should be simple so the audience can focus on the food, but at the same time, it should also look luscious and enticing, enough to make the audience want to grab that food.
Table of Contents
- Food Photography Tips for Beginners
- 1. Using harsh artificial light
- 2. Not setting the light on different sides
- 3. Not using fresh ingredients
- 4. Shooting only after the cooking is done
- 5. Taking photos only from 1 angle
- 6. Not taking photos with negative space
- 7. Bumping up the saturation too much
- 8. Using too much food for plating
- 9. Letting the food sit around for too long
- 10. Not paying attention to the props and styling
- 11. Keeping the food as it is
- 12. Not adding a story or depth to the photo
Food Photography Tips for Beginners
If you’re looking for basic food photography ideas for beginners and bloggers, you’ve come to the right place.
We’ve compiled these easy food photography tips and tricks and a few basic techniques that can improve your photography. Whether you’re shooting for your blog, tutorial video about food, editorial work for a magazine, or simply because you want to make your own personalised cookbook, this article will help you get the brilliant results that you strive for.
1. Using harsh artificial light
Just like in any other branch of photography, food photography lighting is the most important thing that you should master first, as it can make or break your photos. Some photographers choose to work with natural light only, as it gives the best effect. Other photographers opt for artificial light, as they get consistent lighting and white balance throughout the photoshoot, which saves them from a lot of work in the post-processing.
On top of that, artificial light in food photography gives them flexibility in terms of time, as they’re not constrained by the times to take photos.
If you opt for artificial light, do not use a direct flash, or worse, overhead tungsten light. Invest in a good quality flash, and a reflector or bounce card. Never direct the flash towards the food background, as the light will fall harshly and the food will lose all the details, making it look flat and unappealing.
The best way is to use a reflector to bounce the light to the food. You can experiment with the angles, camera settings, and intensity of the light to see which works best for each food shots.
2. Not setting the light on different sides
You can do so much with lighting for food photography, as long as you don’t just stick to one side when you set the light. Experiment with the front lighting, backlighting, and side lighting, and see the difference they make on the food photography backdrops.
 Front lighting
 Side lighting
 Back lighting
Can you see the difference between those three photos of dishes?
Front lighting is the least complicated, and it’s a safe choice as there will be less shadow on the food. The results look nice enough with nothing special.
Side lighting is usually used when you want to show the textures and contrast of the food, making the details pop out.
Backlighting, while tricky to do, is really worth the effort. It gives a clean, light background that helps turn the focus to the food, while also giving highlights to the glorious details of the food. Backlighting needs a lot of practice to master (wrong exposure and automatic settings can cause dark shadows on your food, so always use manual settings).
Keep trying and you’ll see what works and what doesn’t. Once you’ve got this, you’ll be able to create food photos with a fancy editorial look.
READ: 17 Creative Ways to Earn Money from Photography
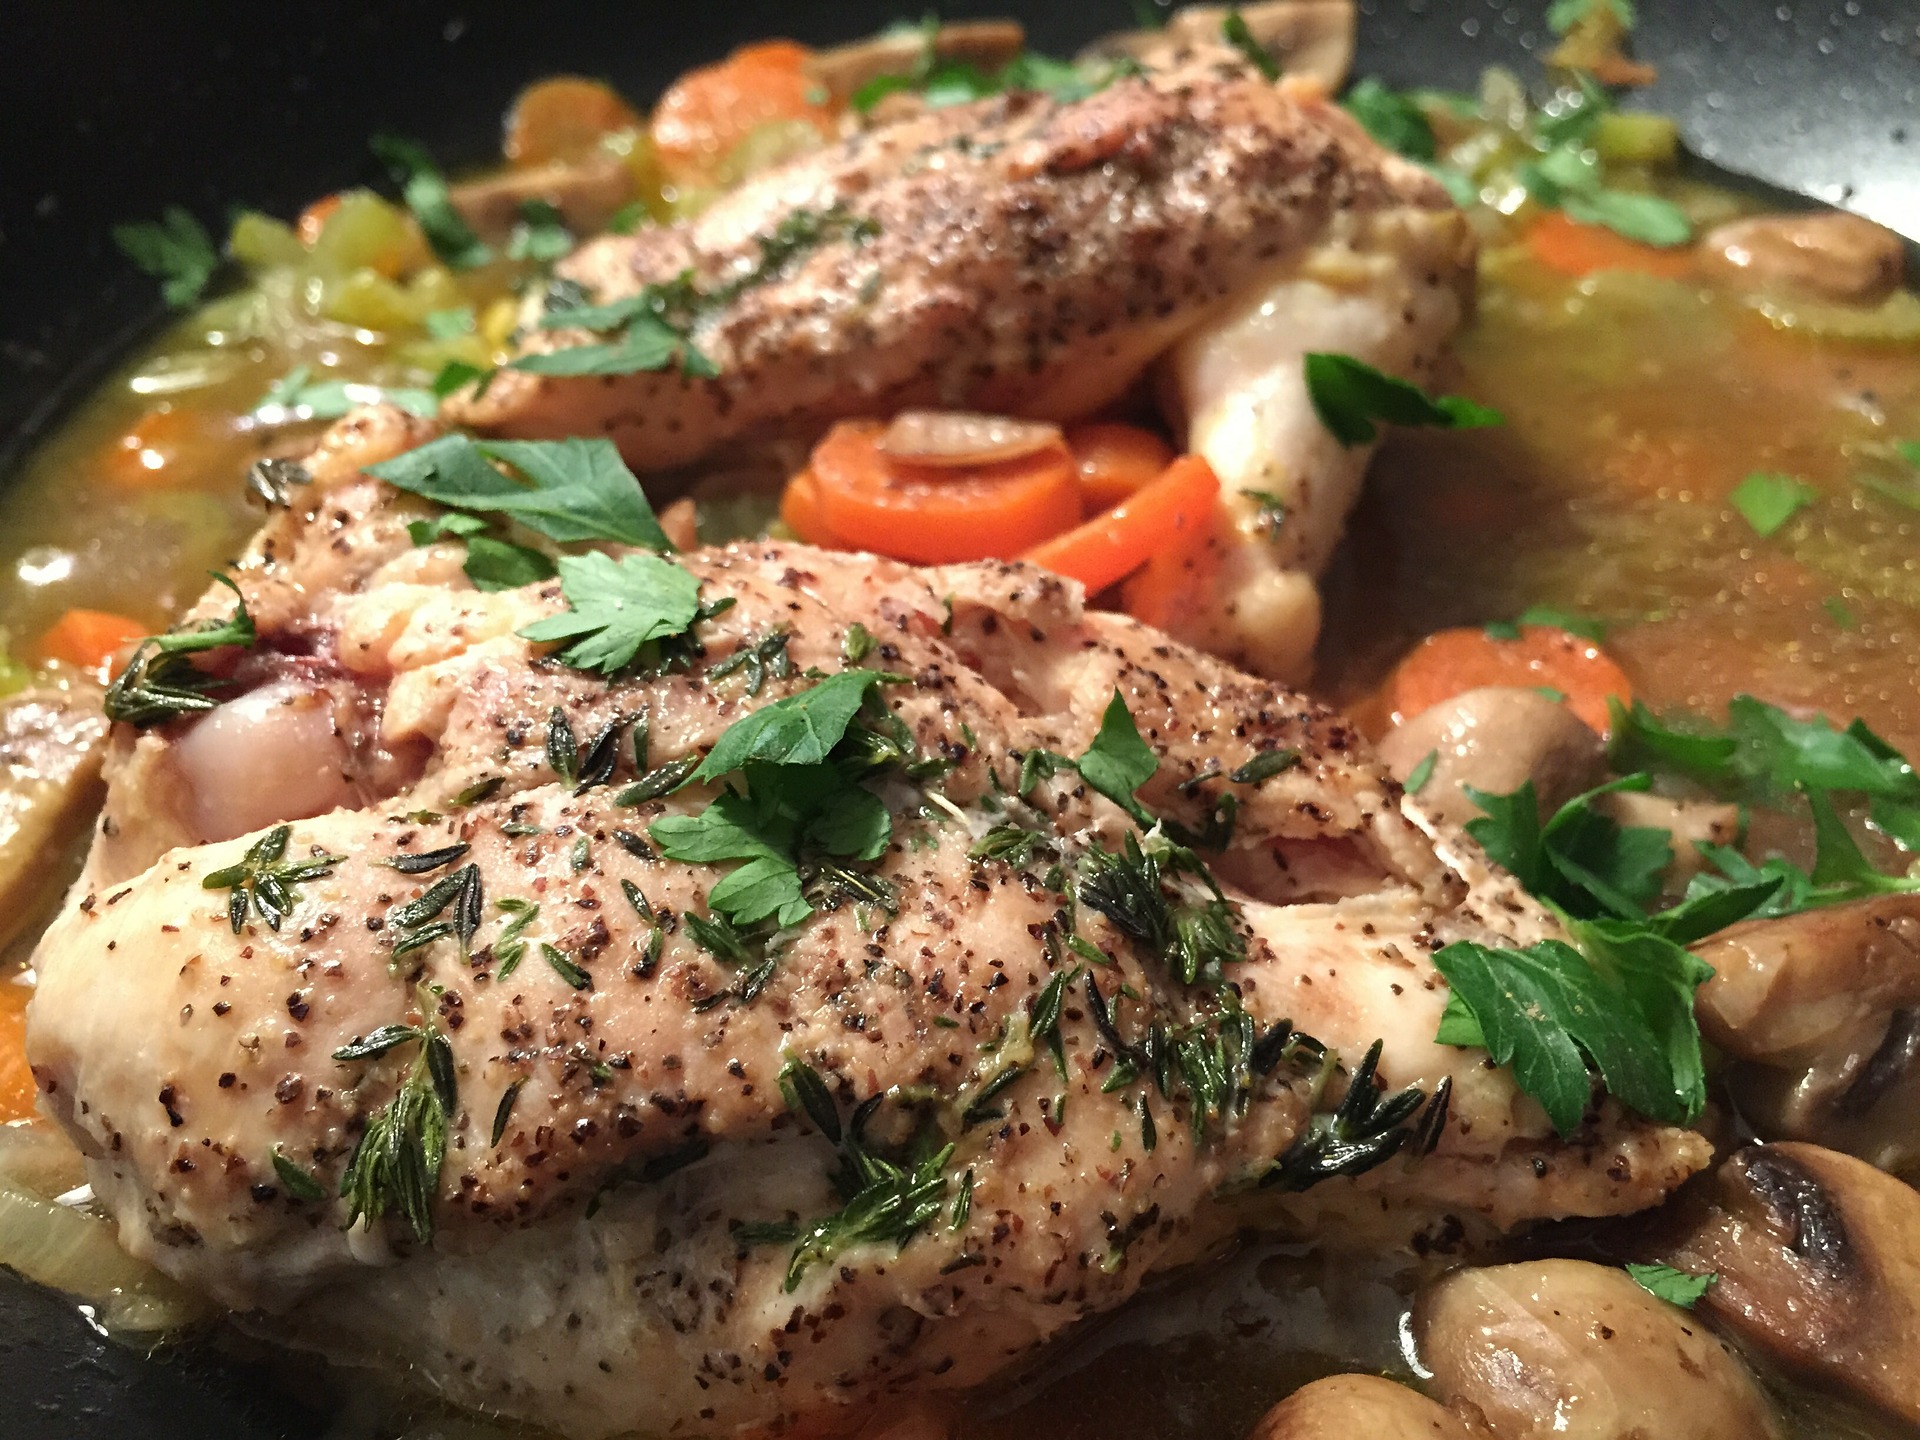
3. Not using fresh ingredients
Food photography tips is all about the appearance of the food, so you need to make sure that every food is in perfect condition. Wilted lettuce in the salad or a bruised tomato can ruin your photo and don’t think of working out an angle that could hide the flaws (more often than not, they don’t work quite well).
Only use the freshest ingredients to save yourself from the extra work.
4. Shooting only after the cooking is done
Shooting after the food is cooked is way too late, as you’ll miss lots of opportunities to take good shots in the cooking photography process.
Don’t start after the food is cooked, but started way before that, when the ingredients are being prepped! There are things that don’t look great when they’re cooked (think of boring soup, pasta with white sauce, or brown dishes like chili, beans, or stuffing).
Sometimes a little garnish can help, but when it still looks flat and boring, you can try shooting the cooking photography process. There are times when the raw or half-cooked ingredients look more appetizing than the cooked dish.
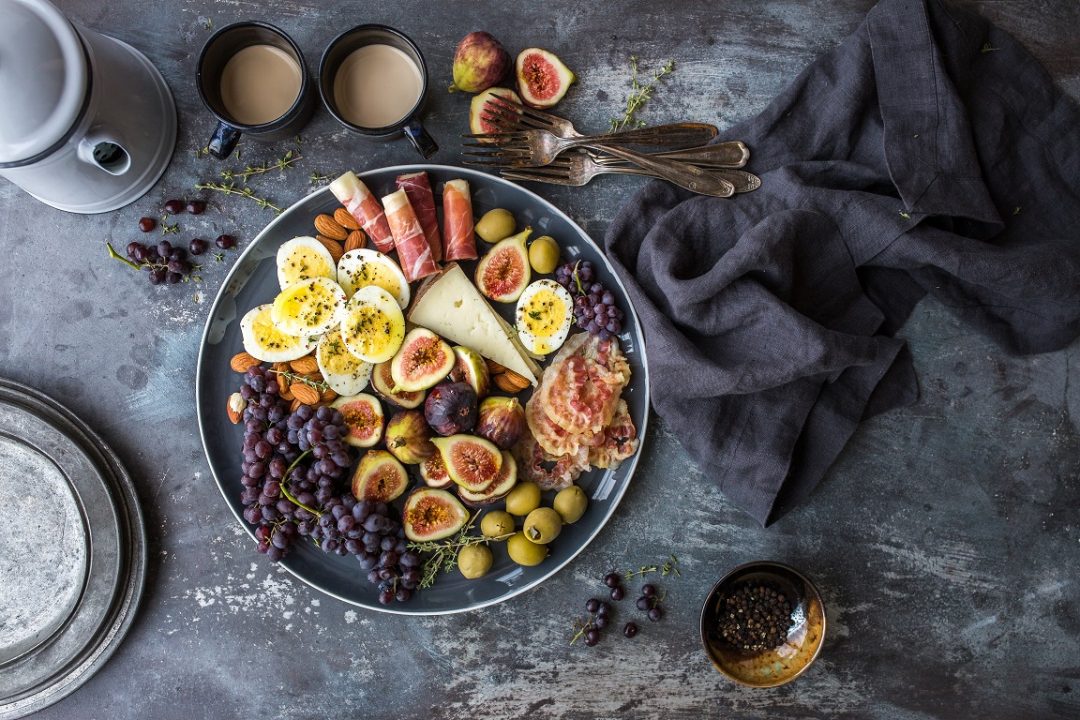
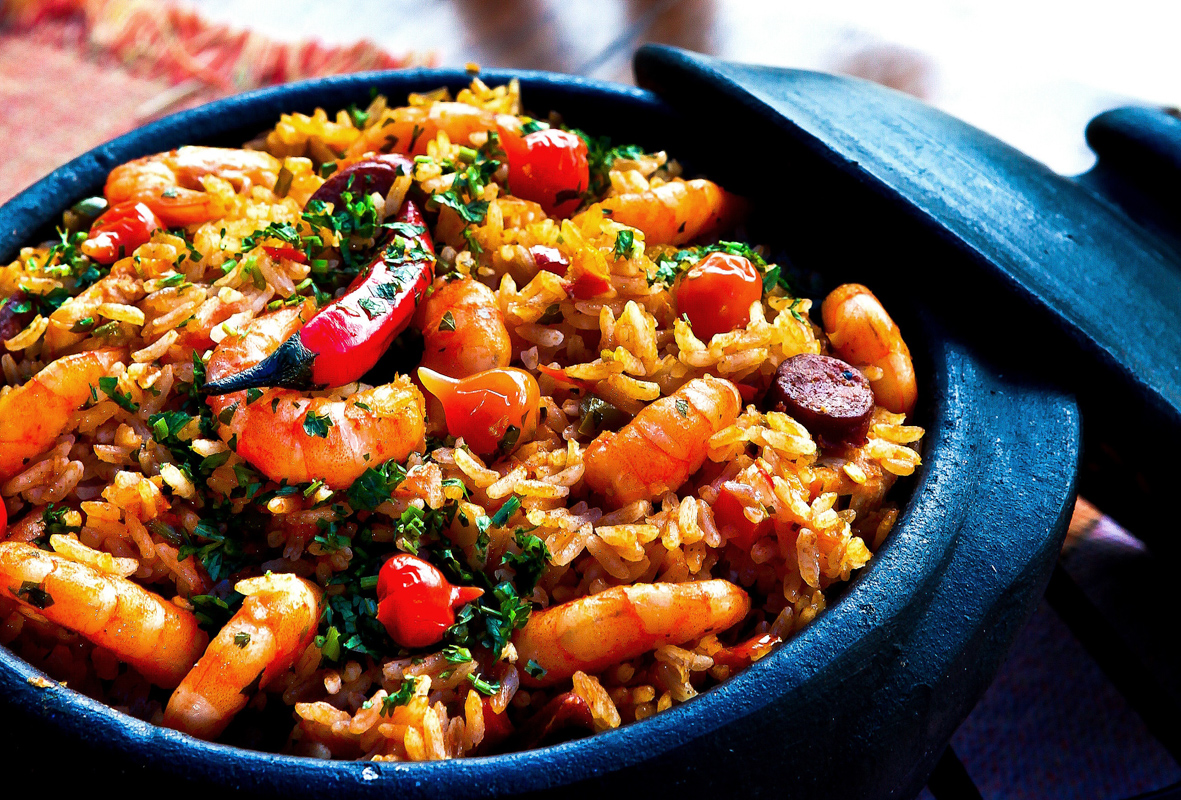
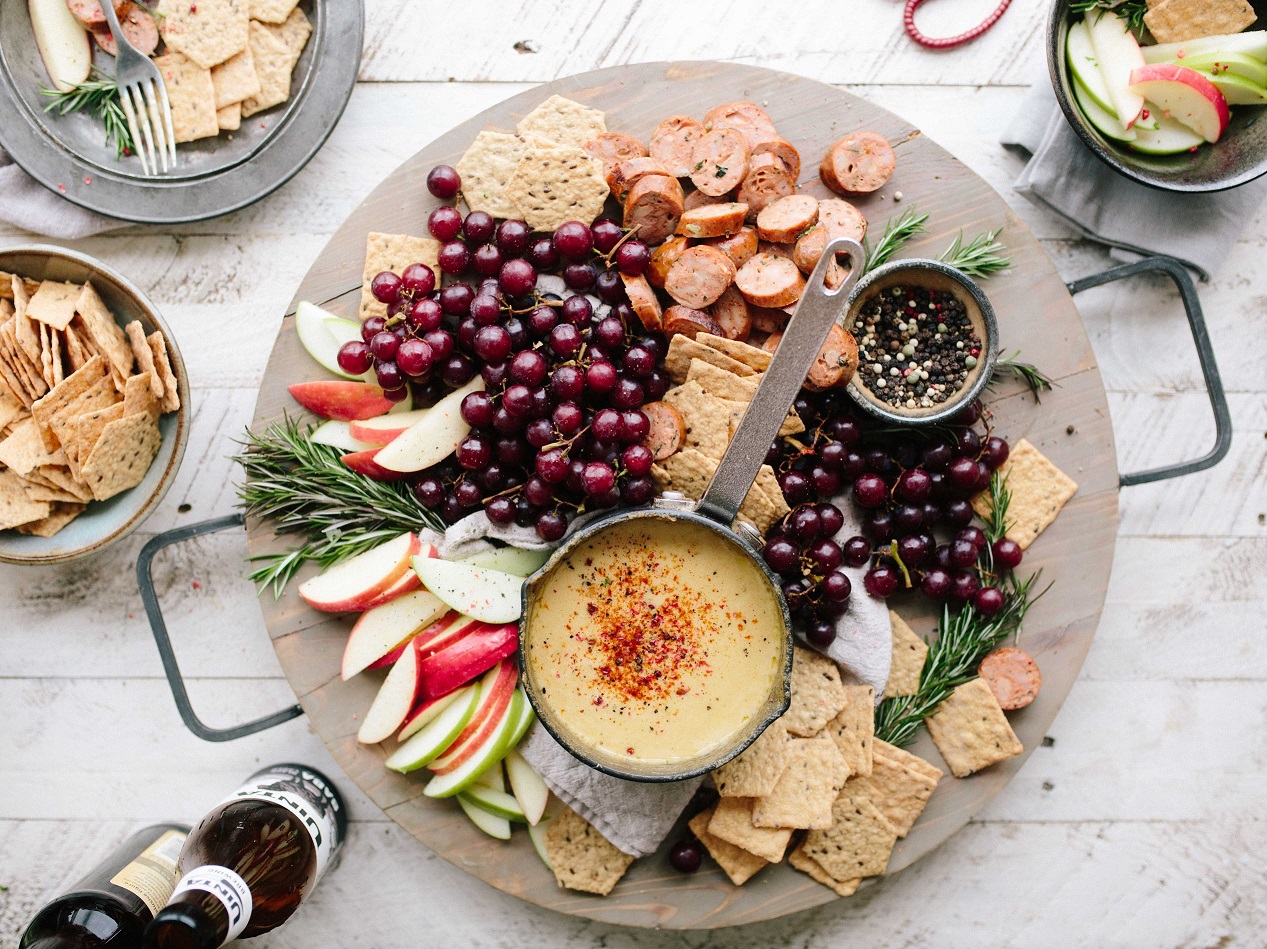
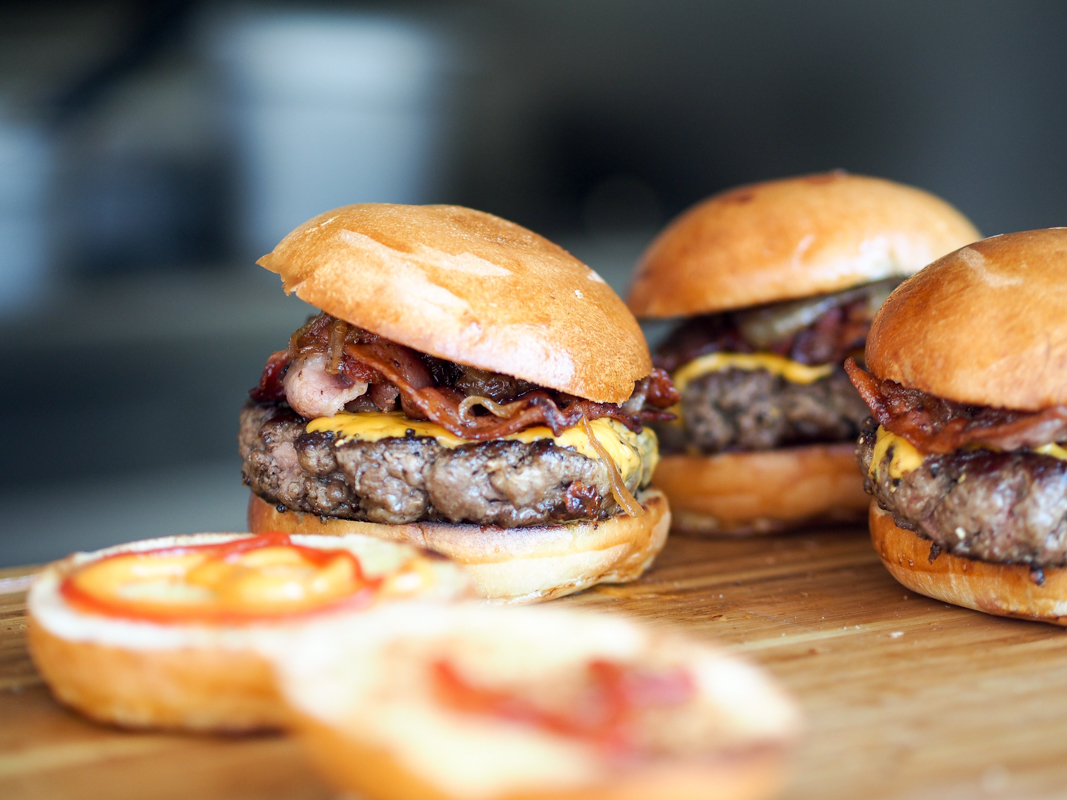
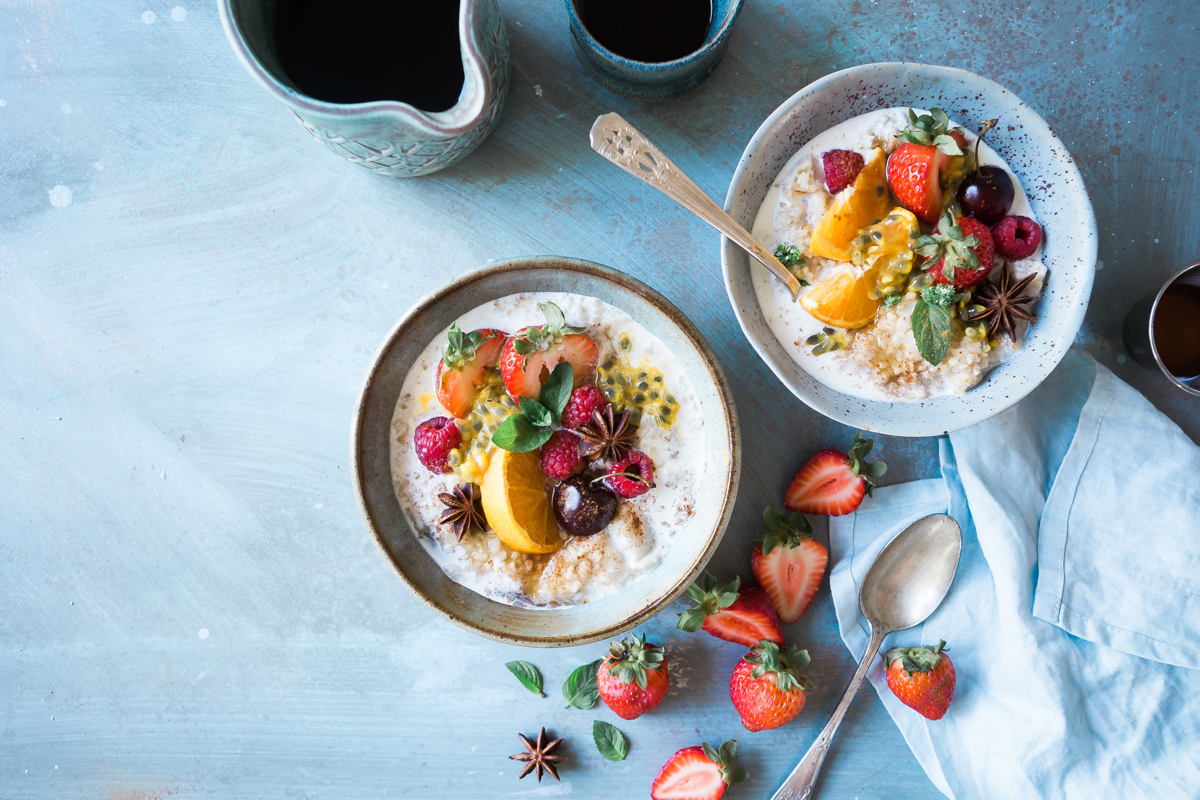
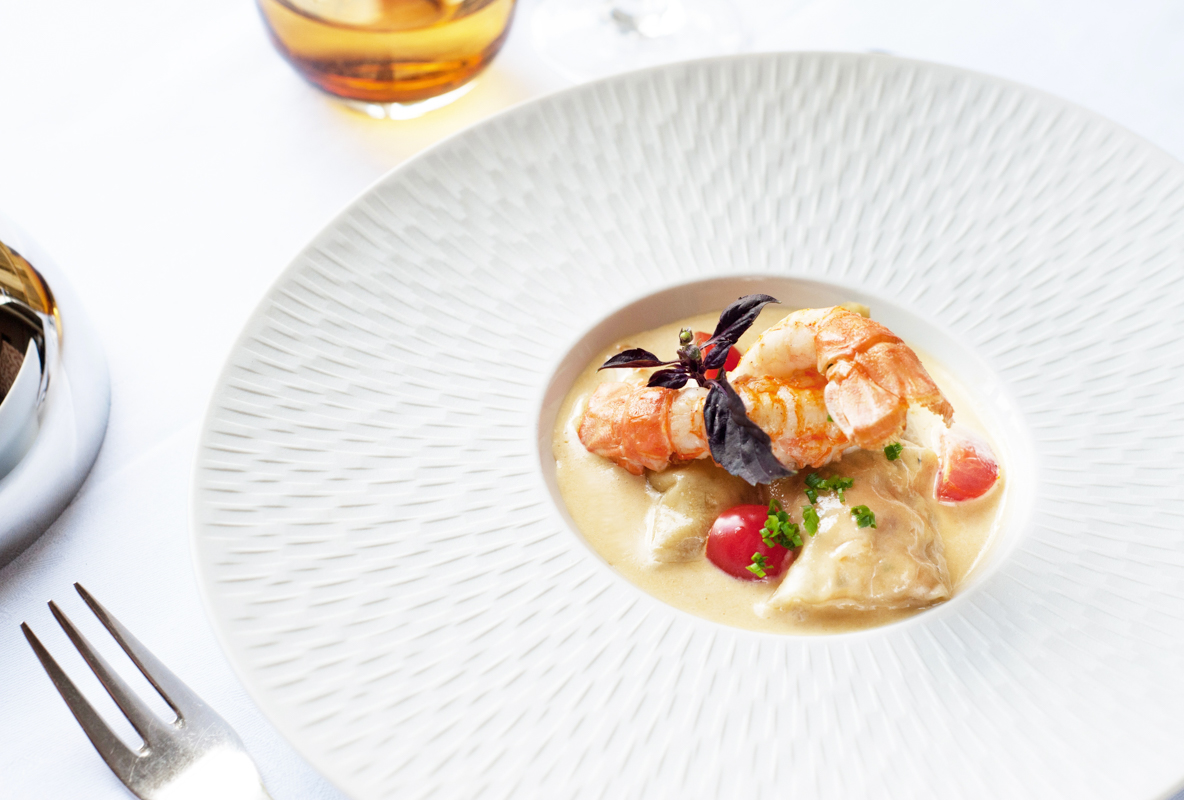
5. Taking photos only from 1 angle
When it comes to angle, there’s no one-size-fits-all. Different foods have different angles that show their best look.
For example, this cheese and fruit platter looks best from above, while a taco or burger looks best from the side. That’s not to say there’s only one angle that works for each food, though. Instead, sometimes you need to show the food needs in various angles to make it easier for people to visualize.
Explore the angles you can think of for each dish, and don’t be afraid to experiment and get creative!
Read on how to take good vacation photos?
6. Not taking photos with negative space
Many photographers stick to these 2 ways when taking photos of food:
- Filling in the frame to show the whole dish;
- Getting close-up shots of the food to show all the luscious details;
- They tend to forget there’s 1 more way they shouldn’t miss, and that’s taking photos with negative space.
Leaving a blank space in a photo will be useful for your clients when they need to put a logo or writing in it, so be prepared to accommodate this.
7. Bumping up the saturation too much
Sometimes, editing can be a hit or miss, and food photographers can fall into the trap of bumping up the saturation too much in order to make the food photoshoot look more scrumptious with all the colors.
Yes, food generally looks more appetizing when the colors pop out but be careful not to oversaturate your photos, as it would only make them look unnatural and weird. Try to get as close to the real colors as possible.
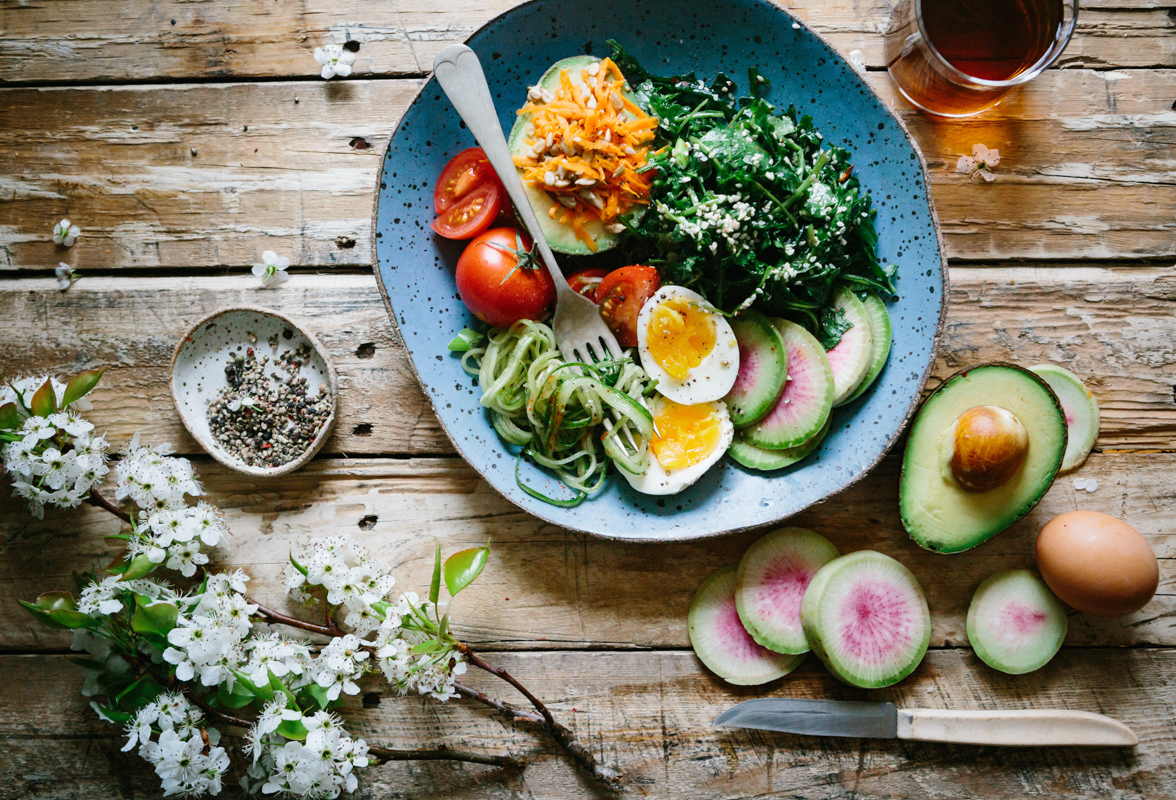
8. Using too much food for plating
It might be tempting to put a lot of food on the plate, but it won’t look good on the camera. Too much food on the plate would only make it harder for the audience to keep the focus on the important elements.
Food photography is about simplicity, so put enough space on the plate for the audience to appreciate the food. Less is more!
Couple portrait photography is going to be fun in this plating manner.
9. Letting the food sit around for too long
There are some foods that require you to move fast and do everything quickly once they’re ready.
Leafy greens in salads, for example, will look wilted after some time, while meat can look a bit dry after sitting around for some time. Make sure you do your setup before the food comes so you can spring into action when they’re ready.
You can use empty plates or bowls for setting up, and replace it later once the food is ready.
10. Not paying attention to the props and styling
Just like a little makeup can do wonders for a photoshoot, so can props and styling. Food photography might look easy, but what not so easy is the styling.
The best way to do this is to keep it simple and clean, especially the props. Since the food should be the main star in the photo, you should stay away from crockery and tableware that can potentially divert the focus away from the food, no matter how pretty they are. Use neutral colors for your props and backgrounds, and let the food be the hero.
Since there will be close-up shots, make sure the plate or bowl and all the cutlery are pristine. Don’t let even a crumb or a speck of liquid on your prop (unless you deliberately do that for style). When you zoom in to get the food details, every imperfection will stand out and take the focus away from the food.
You can do creative stunning prop ideas to your food photography tips by adding photo printing products to make your props look better in the image.
When it comes to styling, do your research beforehand to know the tricks to make the food look more appetizing. For example, adding a bit of oil to vegetables and meat will make them glisten and look succulent, while a sprinkle of water on a salad can make them look fresher.
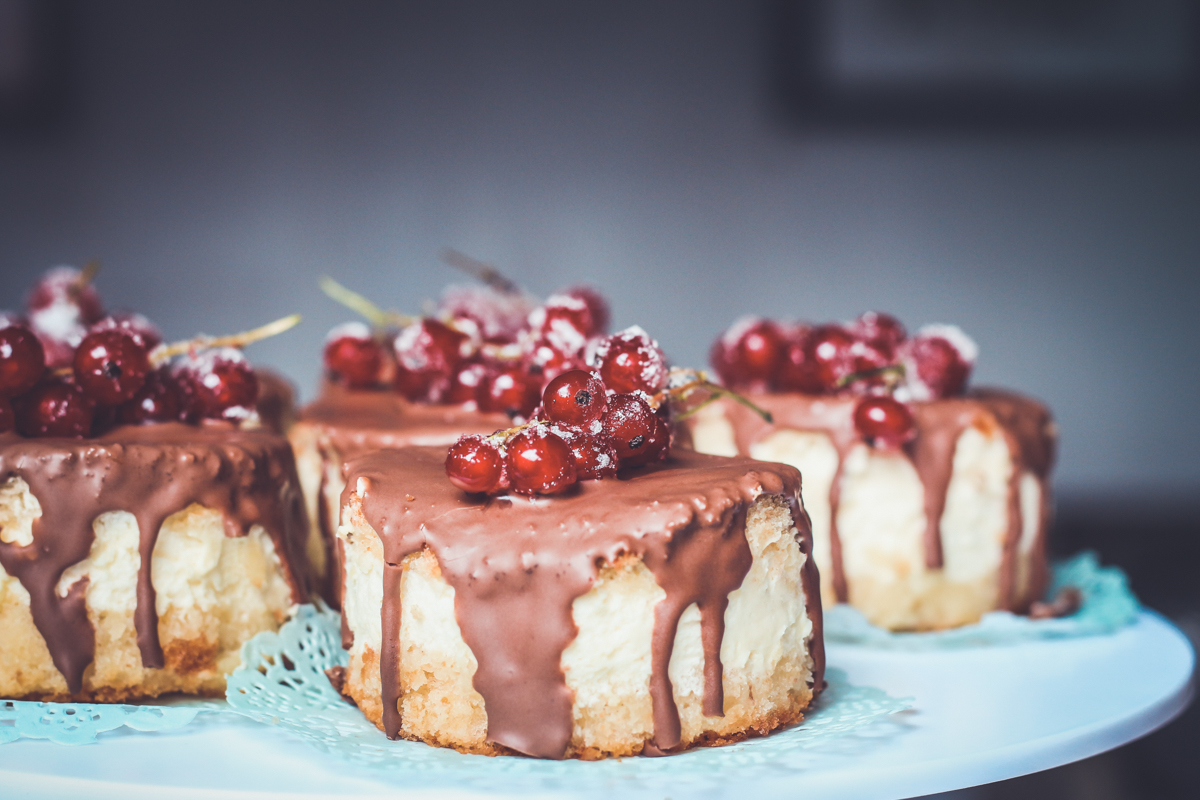
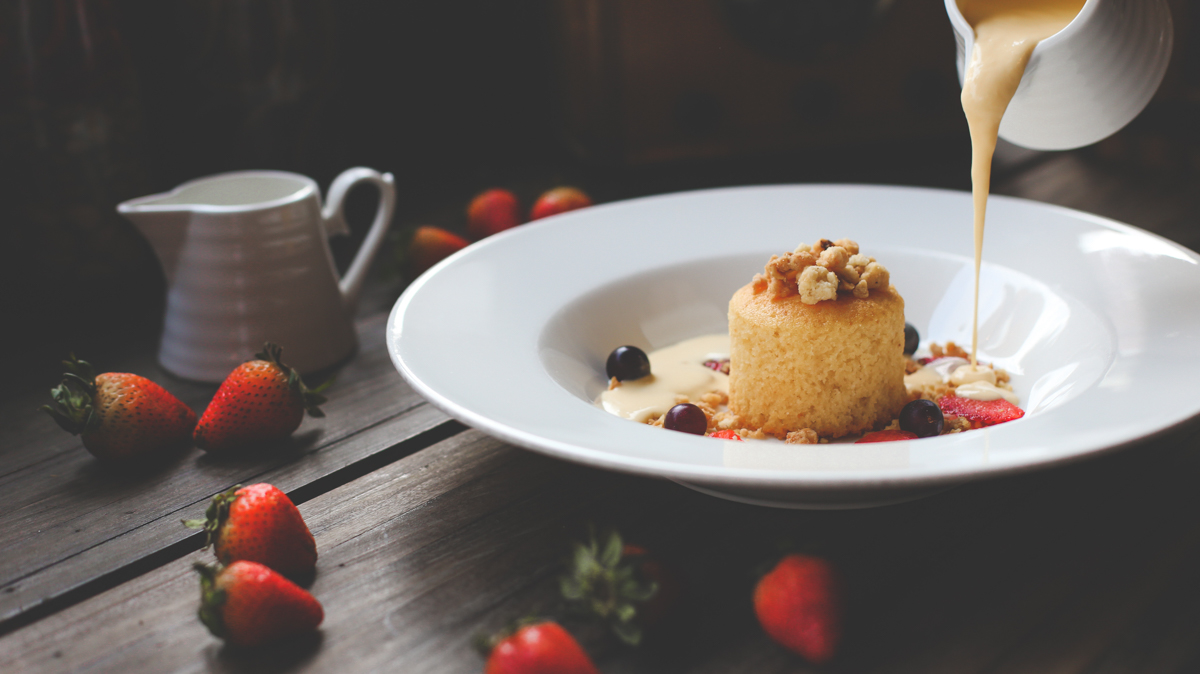
11. Keeping the food as it is
Once the food is laid on the table for you to photograph, don’t stop after you’ve taken the shots. Dig in and serve some bits out.
This cake, for example, looks more appetizing when it’s sliced, as the slices allow the audience to see the colors and texture inside the cake, which helps give them a better idea of the taste.

You can also add human elements and movements to your photos as well, as this can help bring a touch of life to what would be a boring photo otherwise. The photo below shows the movement of pouring the sauce into the dessert, which is more interesting than just the plain photo of the dessert and sauce.
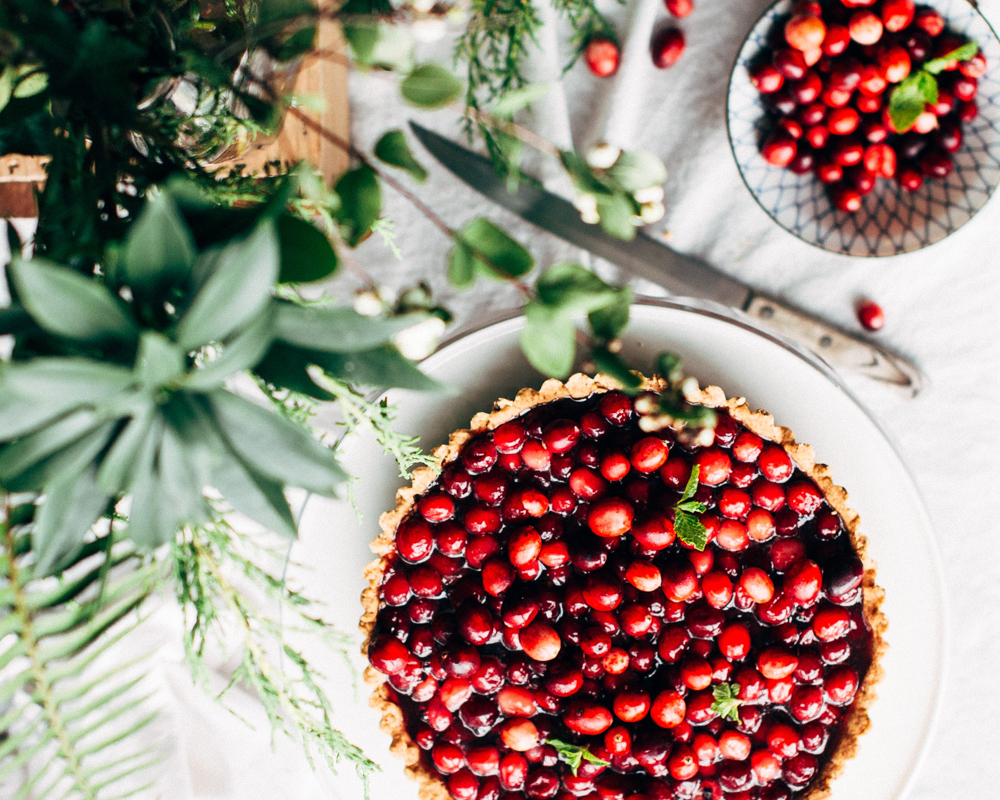
12. Not adding a story or depth to the photo
If you want to go the extra mile, be creative and tell the story of the dish, for example, the origin of the dish or the season in which the ingredients are harvested in.
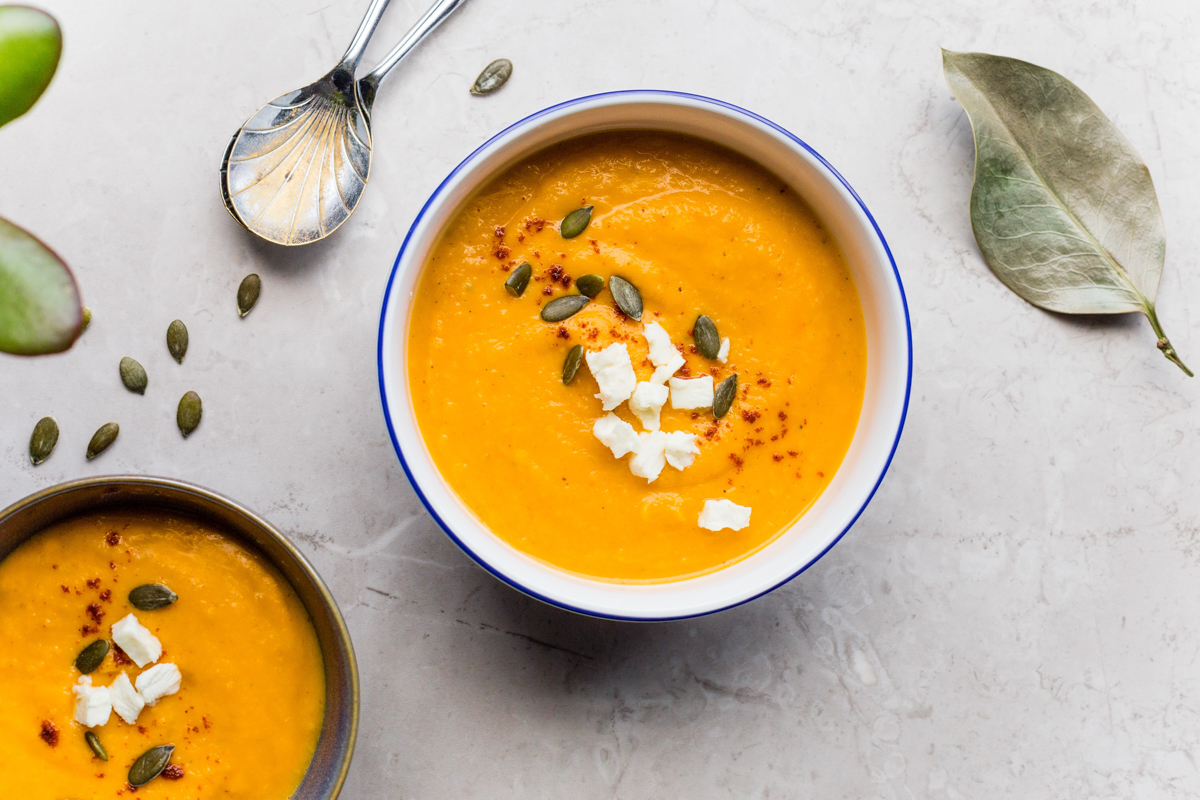
Use the tagine pot for your Moroccan tagine, a banana leaf for nasi campur, or chopsticks for pad thai. Brown and dry leaves in the autumn can be used as decorations to go with your pumpkin soup or apple pie, or maybe a bit of Christmas decorations can go with a winter dish.
Whatever you choose, keep it simple and don’t go overboard.
You can also study and grow more in photography courses in India to make your career professional in Photography.
We hope these food photography ideas for beginners and bloggers can help you over the mistakes and learning more to become professional food photography!
If you want to make your own cookbook with all your gorgeous photos, we’d love to help you. Check out Photojaanic‘s website for more details.


Be the first one to comment